Open-Source Ada: From Gateware to Application
by Olivier Henley –
Introduction & Motivation #
To jump right in, all build instructions and source code can be found here.
Open-Source Stack Matters
As the GNAT Academic Program (GAP) Coordinator at AdaCore, I focus on thorough, hands-on learning in system programming. A fully open-source stack (covering gateware, toolchains, and applications) provides the freedom to explore and refine every layer, from silicon-level control to high-level abstractions. This Neorv32 Basic Input/Output System (BIOS) project highlights Ada as a friendly yet powerful alternative to C for open-source development.
Who This Post is For
- Curious developers exploring
Adabeyond its usual reputation. - Ada enthusiasts who lack the time to experiment with a softcore Central Processing Unit (CPU), a processor defined in a Hardware Description Language (HDL) and deployable on reconfigurable logic like a Field-Programmable Gate Array (FPGA), rather than fixed silicon.
- Embedded system newcomers seeking a practical introduction to fundamentals.
Neorv32, RISC‑V, VHDL, and ULX3S #
Neorv32?
The Neorv32 System on a Chip (SoC) is a VHDL-based RISC‑V softcore featuring a broad set of extensions and peripherals along with extensive documentation. The Neorv32 is the brainchild of Stephan Nolting, who, according to his GitHub page, is associated with the Fraunhofer Institute for Microelectronic Circuits and Systems, Germany.
RISC‑V?
RISC‑V is an open, extensible Instruction Set Architecture (ISA) grounded in proven Reduced Instruction Set Computer (RISC) principles, designed to be both modular and scalable. In my view, the openness and widespread acceptance of RISC‑V make it less susceptible to technical obsolescence than proprietary or less widely adopted architectures. RISC‑V’s extensibility ensures it can evolve rather than become obsolete, making a lot of sense in academic and industrial contexts.
VHDL?
VHDL is a standardized hardware description language. Like Ada, it is structured, strongly typed, and enforces strict compilation rules. VHDL was originally designed based on Ada: its syntax is very similar, and the semantics align up to a point, with both languages prioritizing correctness over convenience. Although verbose for some tastes, this clarity reduces unintended errors and ensures explicit, unambiguous design communication. The Neorv32 project is an excellent testament to the compounding benefits of these attributes.
ULX3S?
The Radiona ULX3S is an open-source development board built around the Lattice ECP5 FPGA. Although the chip manufacturing remains proprietary, the board design is fully open. I’m using the 85,000 Look-Up Tables (85k LUT) version for its flexibility and capability. It includes various peripherals but the real focus here is on the ECP5 FPGA, where we’ll deploy our custom BIOS over the Neorv32 SoC.
Deterministic SoC #
Curating Quality
The Neorv32 is designed with robustness and predictability in mind. It follows a Harvard architecture, keeping instruction and data memory separate. Its multi-cycle model focuses on deterministic behavior, avoiding speculative execution and random stalls. It also offers capabilities that stand out among open-source RISC‑V cores:
- Virtualization and safety mechanisms that detect malformed instructions and privilege escalations, and that enforce address-space integrity.
- A hardware RISC‑V debug module for On-Chip Debugging (OCD).
- Support for atomic operations, which is critical for concurrency.
Unlike software, hardware debugging is tied to physical signals, making errors much harder to trace and correct. This reality makes good design practices crucial from the start. In practice, the Neorv32’s conservative yet adaptable approach minimizes edge cases and failure points.
Toolchain Breakdown: Going Fully Open-Source #
Gateware, Firmware?
An FPGA is a reconfigurable chip where hardware logic circuits are defined programmatically. Unlike fixed CPUs that execute instructions, an FPGA implements such processor logic directly. This is why we call such assembled code gateware. Instead of writing firmware for a predefined CPU, we first program the processor’s architecture in an HDL before deploying compiled firmware instructions on it. In a nutshell, LUTs and Block RAM (BRAM) are the basic building blocks of an FPGA. As a general rule, the more of these resources you have, the more complex your processor/accelerator logic can be.
Open-Source FPGA Toolchain
If you have some experience with FPGA development, you know proprietary toolchains usually transform HDL code into a bitstream for programming the FPGA. Thanks to ongoing academic and open-source efforts, we can now rely on a fully open ecosystem. Here is how the open-source flow produces a usable Neorv32 bitstream for the Lattice ECP5 on the ULX3S:
- GHDL, which is notably written in Ada, parses the VHDL and passes it to Yosys, an HDL synthesis tool, through a plugin.
- Yosys, with help from Berkeley-ABC, a system for sequential synthesis and verification, builds and optimizes a netlist, a description of the connectivity of FPGA resources.
- Nextpnr takes that netlist for place-and-route, mapping it onto the ECP5’s physical layout using the Project Trellis database.
- ecppack (part of Trellis), then assembles the final bitstream, ready to be uploaded to the FPGA
Bringing Up Neorv32 on the ULX3S #
Board Setup and Configuration
To configure the Neorv32 softcore for my ULX3S board, I used neorv32-setups, a repository that provides default board configurations and build setups for a basic SoC gateware and firmware. This was precisely what I needed since it includes a UART, which is required for our Ada BIOS demo. A given board setup consists of a constraint file that maps the board’s physical interfaces to the FPGA pins, and a top-level VHDL file that allows customization of the base SoC. In this file, you define the SoC you want by selecting peripherals and setting key parameters like the system clock speed based on what the board physically provides.
Generating and Flashing the Bitstream
Finally, you have build makefiles driving the open-source toolchain to generate the SoC bitstream (.bit) and C firmware demos. With everything configured and built, I had a Neorv32 SoC bitstream file ready to be uploaded to the ULX3S. To give you an idea, this basic Neorv32 SoC uses 3,026 of the 85k LUTs (3% total) and 67 of the 208 DP16KD 16K block RAMs (32%), leaving plenty of room on my ECP5. To flash it, I used fujprog, another open-source project, which compiled and transferred successfully on the first attempt.
Goodbye C, Hello Ada #
Neorv32 Bootloader Flow
Right away, I was able to test the default Neorv32 bootloader and upload some of the provided demos. During SoC synthesis, the Neorv32 bootloader firmware is embedded into the FPGA bitstream. Once the FPGA is programmed and starts up, execution jumps directly to this bootloader, which presents a command menu for uploading and running other firmware. The main Neorv32 repository provides several C demos designed to be executed through this bootloader.
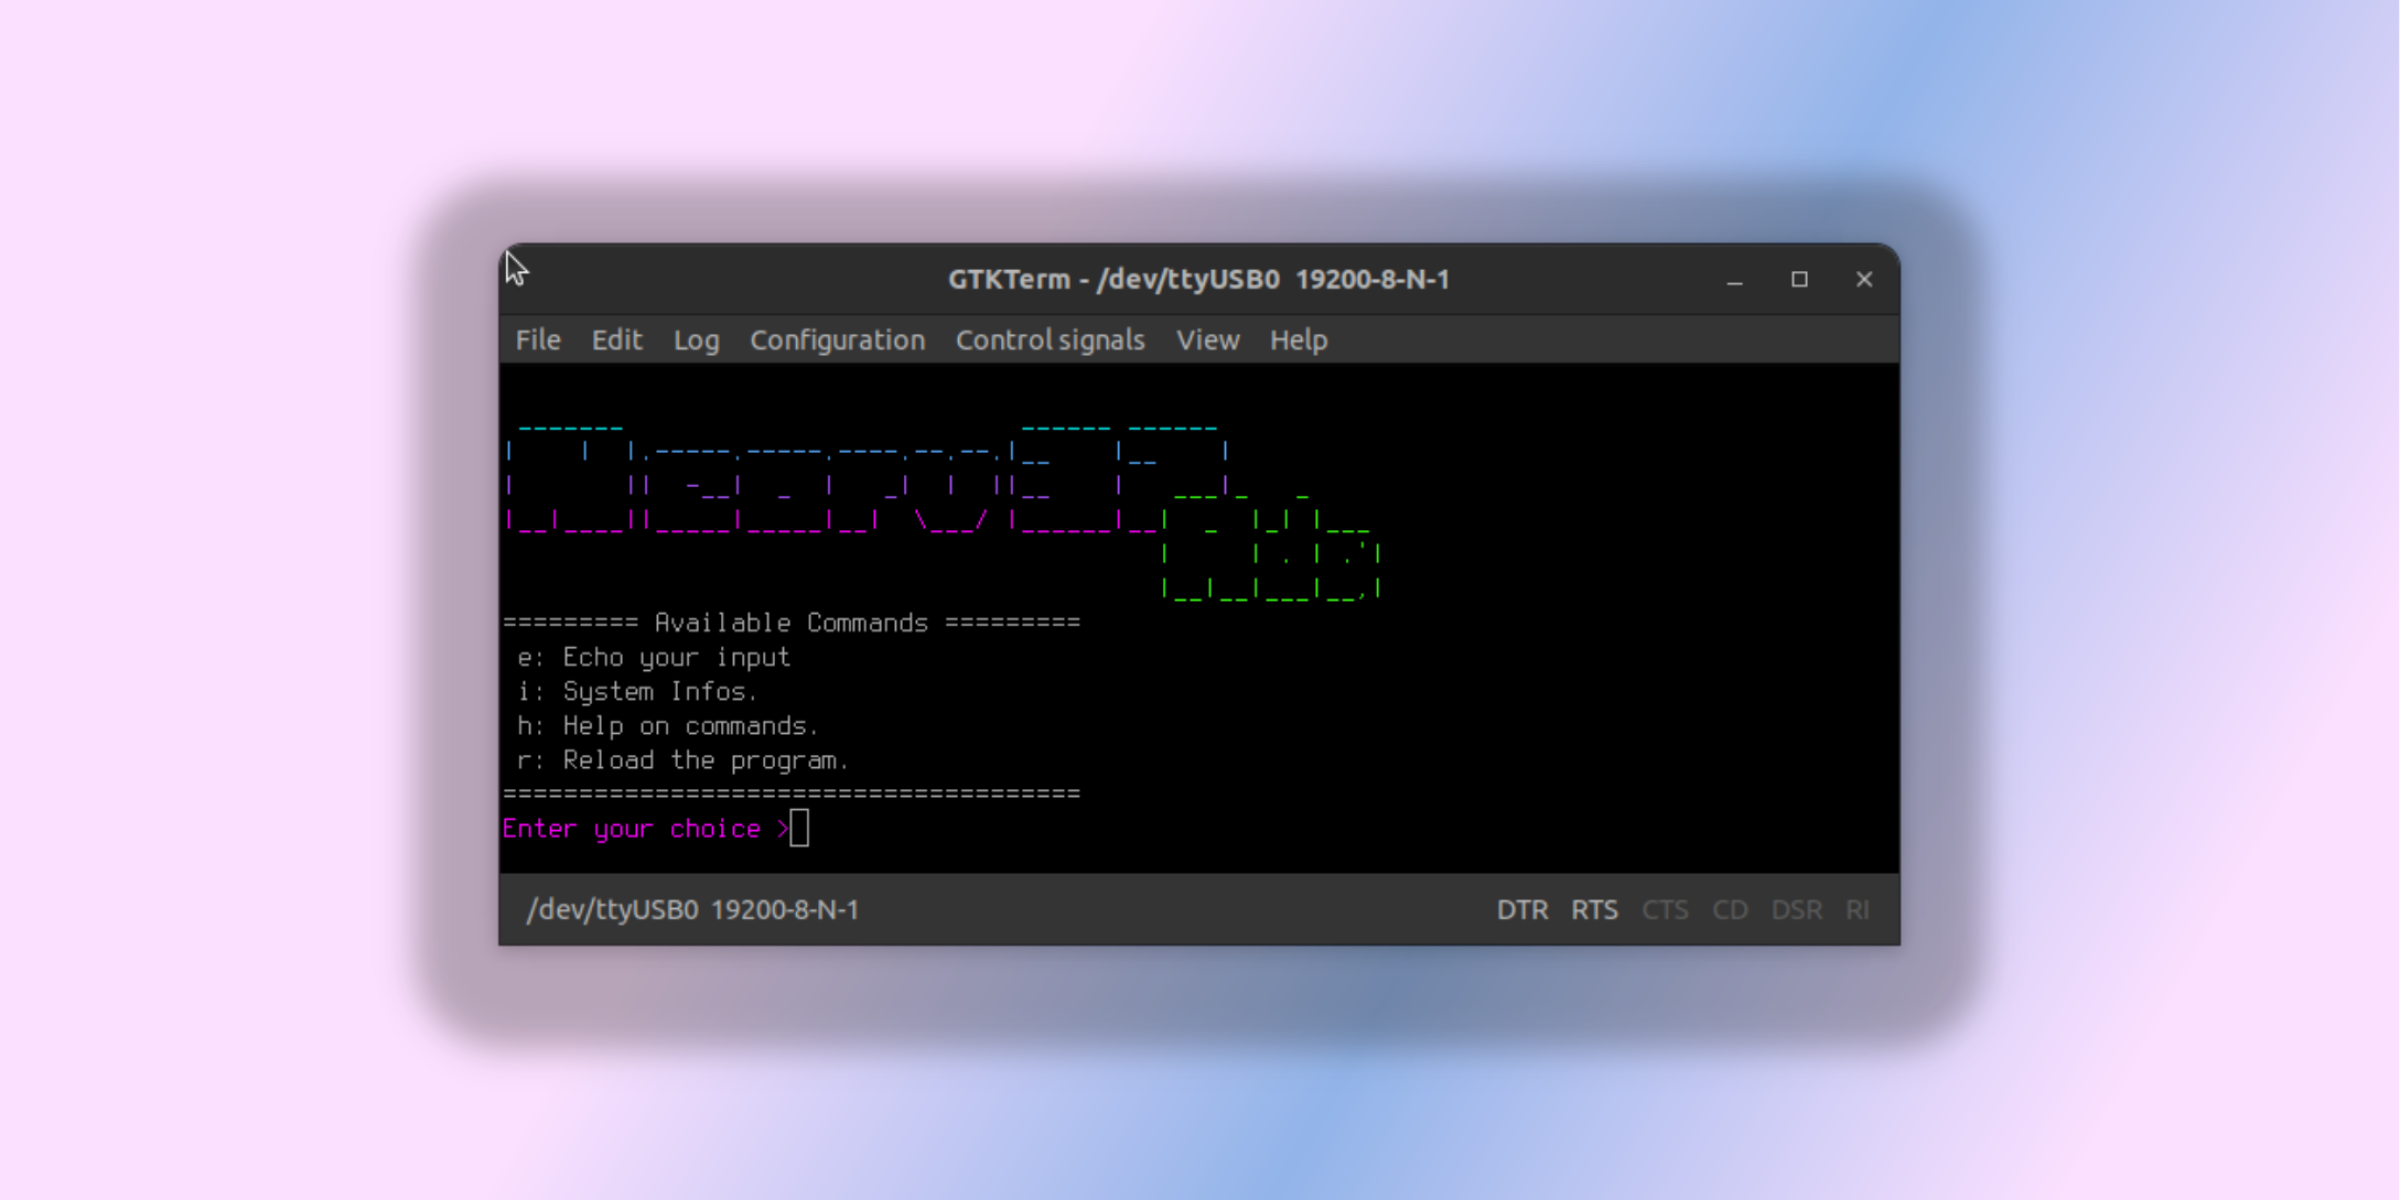
For these you’ll need a RISC‑V cross‑compiler (with libgloss) and a terminal program that can send raw binary data without headers. I used GTKTerm on Linux to ensure the firmware format matched what Neorv32’s bootloader expects. After starting with a “hello world” C demo to learn the workflow, I moved on to write the Ada BIOS. Although setting up Interrupt Service Routines (ISR) is a familiar concept, doing it on RISC‑V was new territory for me.
C to Ada, Step-by-Step
The key was to create a minimal demo that exercised UART RX interrupts for incoming console data, along with the necessary Control and Status Register (CSR) setup. Typical demos skip UART receive, so I pieced together a simple C example to focus on handling UART0 RX interrupts.
When an interrupt occurs, the CPU stops what it’s doing and hands execution to the registered callback. Once finished, the CPU must restore its previous state. In practice, that means a) saving the current registers, b) running the interrupt handler within isr(), and c) restoring the registers before picking up where it left off.
The reference code tackled these steps in a single naked C function, mixing inline assembly for saving/restoring registers with the ISR logic. Splitting this into separate C or Ada functions caused crashes. To fix that, I moved the assembly prelude and postlude into trap_entry.S and exposed a trap_entry() and isr() symbol to the linker.
.global trap_entry
.global isr

trap_entry:
...
   sw x31, 31*4(sp)  # Save x31 register
   call isr
...
   lw x31, 31*4(sp)  # Restore x31 register
...
mretInitially I kept the isr() implementation logic in C to ensure getting back to a working state. Once done, I translated the isr() logic to Ada step by step, ensuring each operation matched the original.
procedure Isr
  with Export, Convention => C, External_Name => "isr";

procedure Isr is
begin
  Call_Handler;
  if Is_Exception then
    Compute_Return_Address;
  end if;
end Isr;

procedure Trap_Entry
with Import, Convention => C, External_Name => "trap_entry";Neorv32 Hardware Abstraction Layer #
Setting Up a Minimal Ada Runtime
Alire, the Ada package manager, already includes packages to help create a basic RISC‑V Hardware Abstraction Layer (HAL). bare_runtime, a minimal Ada runtime for embedded or restricted targets, is a perfect fit. A needed GNAT RISC‑V cross-compiler is also available. To make this work, two steps are required:
- Add and configure dependencies in the package manager manifest file of the
neorv32_hallibrary. The relevant section of thealire.tomlfile looks like this:
[[depends-on]]
gnat_riscv64_elf = "*"
bare_runtime = "*"

[gpr-set-externals]
BARE_RUNTIME_SWITCHES = "-march=rv32i_zicsr_zifencei -mabi=ilp32"
This establishes dependencies on the GNAT RISC‑V cross-compiler and the bare-metal runtime. It also passes specific build switches to gprbuild, the GNAT build system, ensuring compatibility with the targeted RISC‑V variant.
- Customize the build file,
neorv32_hal.gpr, accordingly:
with "bare_runtime.gpr";
project Neorv32_Hal is
   for Languages use ("Ada", "ASM_CPP");
   for Target use "riscv64-elf";
   for Runtime ("Ada") use Bare_Runtime'Runtime ("Ada");
   for Library_Name use "Neorv32_Hal";
...
end Neorv32_Hal;
Here, we reference the bare_runtime project file, ensure support for both Ada and Assembly code, specify RISC‑V as the target architecture, set bare_runtime as the runtime, and define the current project as a library.
Creating a Custom Linker Script and Startup Code
The next step is to create the linker script (link.ld) and startup assembly (crt0.S). This is easily done using the startup_gen Alire package. By providing key details about our target, such as memory sizes, memory start addresses and CPU architecture, startup_gen generates basic functional files:
crt0.Shandles initialization: loading the data section, clearing BSS, and setting up global/static objects.link.ldmaps firmware sections according to the Neorv32 memory layout: placing instructions in ROM and data in RAM.
For a deeper dive into startupgen, check out the related blog post.
Implementing Interrupt Handling in Ada
As mentioned, saving and restoring registers during an interrupt now happens in assembly: trap_entry. What remains is the middle part: the isr() that ends up calling the handler registered for the specific interrupt. First we need to update the Machine Trap Vector Register (Mtvec) to point to our trap_entry. This happens in the interrupt initialization code.
procedure Init is
begin
  RISCV.CSR.Mstatus.Set_Bits (2#11000_00000000#);  --  after MRET stays M-mode
  RISCV.CSR.Mtvec.Write (UInt32 (To_Integer (Trap_Entry'Address)));
  RISCV.CSR.Mie.Write (0);  --  disables all interrupts
  Asm ("fence");
end Init;
Next we need to create our Handlers table; one entry per specific interrupt. Note that Neorv32 can be built as a dual-core, so the Hart_ID_T type range from 0 to 1.
subtype Hart_Id_T is Natural range 0 .. 1;
type Trap_Code_T is (
...
  Fast_Interrupt_2, -- Uart0 RX
...
);

for Trap_Code_T use (
...
  Fast_Interrupt_2 => 16#80000012#, -— Uart0 RX
...
  );

type Interrupt_Handler is access procedure (Hart : Hart_Id_T; Trap_Code : Trap_Code_T);
...
type Handlers_T is array (Hart_Id_T, Trap_Code_T) of Interrupt_Handler;
Handlers : Handlers_T := (others => (others => Default_Handler'Access));
We install a specific interrupt callback by indexing it in the Handlers table:
procedure Install_Uart0_Rx_Interrupt_Handler (Hart : Harts_T; Handler : Interrupt_Handler) is
begin
  Handlers (Hart, Fast_Interrupt_2) := Handler;
end Install_Uart0_Rx_Interrupt_Handler;Calling a handler involves checking the interrupt’s cause. Our callback signature receives the Hart_Id and the Trap_Code enum value.
procedure Call_Handler is
  Hart_Id : Hart_Id_T := Hart_Id_T (RISCV.CSR.MHARTID.Read);
  Trap_Code : Trap_Code_T := Trap_Code_T'Enum_Val (RISCV.CSR.MCAUSE.Read);
begin
  Handlers (Hart_Id, Trap_Code).all (Hart_Id, Trap_Code);
end Call_Handler;
SVD and Ada #
Memory-Mapped Peripherals
At this point, we need a way to talk to peripherals like UART0, which are memory-mapped at specific addresses. At a given base address, there’s a range of bits for control and data, and your Ada code interacts with these registers to manage the peripheral.
In the embedded world, this mapping is often documented in an XML-based format called CMSIS-SVD, which defines each peripheral’s base address and register layout. Neorv32 follows this convention and provides a single SVD file (.svd) covering every potential peripheral for a given SoC configuration.
Auto-Generate Ada Code for Registers
By using the Svd2ada Alire package, you can feed in the SVD file and automatically generate Ada code that reflects the structure of each memory mapped peripheral. For example, consider this snippet from the neorv32.svd file for the UART0 peripheral:
<peripheral>
  <name>UART0</name>
  <description>Primary universal asynchronous receiver and transmitter</description>
  <baseAddress>0xFFF50000</baseAddress>

  <addressBlock>
    <offset>0</offset>
    <size>0x08</size>
    <usage>registers</usage>
  </addressBlock>

  <registers>
    <register>
      <name>CTRL</name>
      <description>Control register</description>
      <addressOffset>0x00</addressOffset>
      <fields>
        <field>
          <name>UART_CTRL_EN</name>
          <bitRange>[0:0]</bitRange>
          <description>UART enable flag</description>
        </field>
        ...
      </fields>
    </register>
    ...
  </registers>
</peripheral>
From this, we see:
- A base address of 0xFFF50000.
- An address block spanning 8 bytes.
- A control register,
CRTL, with a 1‑bit field,UART_CTRL_EN, to enable or disable the peripheral.
After running it through Svd2ada, you’ll get this neat generated Ada code you can use directly:
--  Generated from neorv32.svd

UART0_Base : constant System.Address := System'To_Address (16#FFF50000#);

type Bit is mod 2**1 with Size => 1;
subtype CTRL_UART_CTRL_EN_Field is Bit;

type CTRL_Register is record
   UART_CTRL_EN : CTRL_UART_CTRL_EN_Field := 16#0#;
...
   UART_CTRL_TX_FULL : CTRL_UART_CTRL_TX_FULL_Field := 16#0#;
...
end record
   with Volatile_Full_Access, Object_Size => 32,
        Bit_Order => System.Low_Order_First;

type UART0_Peripheral is record
   CTRL : aliased CTRL_Register;
   DATA : aliased neorv32.UInt32;
end record
  with Volatile;

for UART0_Peripheral use record
   CTRL at 16#0# range 0 .. 31;
   DATA at 16#4# range 0 .. 31;
end record;

UART0_Periph : aliased UART0_Peripheral with Import, Address => UART0_Base;Minimal UART Driver
UART0_Periph is the peripheral instance to use. The following code uses it to read a character over the UART0:
function Read_RX return Character is
  UART_RX : Character with Volatile, Address => UART0_Periph.Data'Address;
begin
  return UART_RX;
end Read_RX;
pragma Inline (Read_RX);Implementing Ada.Text_IO
Now, to enrich our bare runtime and enable Ada.Text_IO routines, all we need is to supply our own putchar function that handles a single character — here text IO goes through UART. The bare_runtime includes a weak putchar, so once we provide our custom implementation, the rest of the logic is handled automatically.
procedure Put_Char (C : Interfaces.C.char) with
    Export, Convention => C, External_Name => "putchar";

procedure Put_Char (C : Interfaces.C.char) is
begin
  while UART0_Periph.CTRL.UART_CTRL_TX_FULL = 1 loop
    null;
  end loop;
  Write_TX (Interfaces.C.To_Ada (C));
end Put_Char;
The neorv32_hal + demos package #
Alire Package Structure
Now we’re ready to create the bios demo and package it within the neorv32_hal in the Alire registry:
neorv32_hal
 ├ alire.toml        (the manifest pushed to the Alire upstream index)
 └ src               (contains HAL code)
 └ demos
       ├ alire.toml  (pin a backward dependency on neorv32_hal)
       └ src         (contains BIOS demo code)
The alire.toml inside demos looks like this:
name = "demos"
executables = ["bios"]

[[depends-on]]
neorv32_hal = "*"

[[pins]]
neorv32_hal = { path = ".." }Finally, our BIOS code doesn’t rely on polling. It’s event-driven through RX interrupts. All reacting code and state handling happens in Parse_Cmd and the private implementation of the Bios_Core package.
with Bios_Core;
with Interrupts;
with Uart0;

procedure Bios is
begin
   Interrupts.Init;
   Interrupts.Install_Uart0_Rx_Interrupt_Handler (0, Bios_Core.Parse_Cmd'Access);
   Uart0.Init (19200);
   Interrupts.Global_Machine_Interrupt_Enable;
   Bios_Core.Show_Welcome;
   loop
      null;
   end loop;
end Bios;
Try It Yourself #
I hope you found all this interesting. I skipped installation, build instructions for third-party tools, and plumbing details, but you’ll find everything you need in the repository’s README. If you have any questions or run into issues, don’t hesitate to reach out.
About Olivier Henley

The author, Olivier Henley, is a UX Engineer at AdaCore. His role is exploring new markets through technical stories. Prior to joining AdaCore, Olivier was a consultant software engineer for Autodesk. Prior to that, Olivier worked on AAA game titles such as For Honor and Rainbow Six Siege in addition to many R&D gaming endeavors at Ubisoft Montreal. Olivier graduated from the Electrical Engineering program at Polytechnique Montreal. He is a co-author of patent US8884949B1, describing the invention of a novel temporal filter implicating NI technology. An Ada advocate, Olivier actively curates GitHub’s Awesome-Ada list