GNAT Static Analysis Suite Gitlab Integration - Scaling the pipeline up
by Léo Germond –
In the previous blog post of this series, we set up a GNAT Static Analysis Suite (GNAT SAS) analysis pipeline. This post focuses on the pipeline's maintainability, security, and user experience.
We can identify the following issues with our straightforward implementation
We do not have a centralized way to update and distribute the GNAT SAS image across multiple projects
Analysis results are not tracked
There is no overview of the analysis result as it evolves over time
We don’t have an easy way to track defects introduced or removed by a certain merge request
We can’t easily download the analysis for the current branch we’re working on
In this blog post, we will describe solutions to these issues by detailing the pipeline design and how to automate its update, and integrating a script to ease conducting and pushing reviews. Finally we’ll review using GitLab native analysis tooling to improve the user experience and gain a branch-aware analysis overview.
Integrating the GNAT SAS image
Typically, the end workflow from pushing to using the image is shown in Figure 1.
The diagram can be read as “The Binary Package Registry provides the GNAT SAS image for the Docker Image Builder Pipeline”.
If the names of the boxes are not clear at first glance, fear not. They are defined in the two tables below the diagram.

GNAT SAS image project
This project builds the GNAT SAS Docker Image that will be used for performing analysis.
It is set up using the following resources from a single, dedicated, GitLab project with the following elements being used:
Resource | Contains | Documentation |
Package registry | Release packages | |
Git Repository | Dockerfile Pipeline configuration | |
Pipeline | ||
Container Repository | GNAT SAS image |
Tool maintainers can push new packages (new versions of GNAT SAS) to the GNAT SAS Package Registry. They can also update the pipeline configuration, which results in building and pushing out new versions of the GNAT SAS image to the Container Repository.
Ada Project
This infrastructure runs, stores, and distributes the analysis of a given Ada project.
It is set up using the following resources from a single, dedicated GitLab project with the following elements being used.
The Docker executor is the “hidden” piece in charge of loading the container from the Container Repository.
Resource | Contains | Documentation |
Docker executor | ||
Git Repository | Ada code Pipeline configuration | |
Pipeline | See below | |
Package registry | Analysis result | |
Artifacts | Analysis result | See next chapter |
GitLab CI/CD quality UI |
We configure the pipeline in the following way:
test:
  image: registry.my-private-gitlab.com/gnatsas/gnatsas-24.2
  script:
    - gnatsas
        analyze
        -P gnatsas.gpr
    - gnatsas
        report
        -P gnatsas.gpr
    - gnatsas
        report
        code-climate
        -P gnatsas.gpr
        --out $CI_PROJECT_DIR/tictactoe/code_quality_report.json
        --root $CI_PROJECT_DIR
On top of the gnatsas report command which displays the result in the console, we run the gnatsas report code-climate command, which will generate a report for the GitLab UI.
Handling the analysis result
Storing the analysis results
In order to store the result we add the following to our pipeline
test:
  script:
     […]
    - zip $CI_PROJECT_DIR/gnatsas_analysis.zip --recurse-pattern "gnatsas/*/*.sar"
    - zip $CI_PROJECT_DIR/gnatsas_analysis.zip --recurse-pattern "gnatsas/*/*.sam"
    - zip $CI_PROJECT_DIR/gnatsas_analysis.zip --recurse-pattern "gnatsas/*/*runs_info.json"
    - upload_generic_package <project> $CI_PROJECT_DIR/gnatsas_analysis.zip "$CI_COMMIT_REF_SLUG"

  artifacts:
    when: always
    paths:
      - code_quality_report.json
      - gnatsas/*/*.sar
      - gnatsas/*/*.sam
      - gnatsas/*/*runs_info.json
    reports:
      codequality: code_quality_report.json
ℹ️ upload_generic_package is a script that simply wraps around the GitLab Python generic_packages API |
We zip all the .sam (analysis messages) and .sar (analysis review) files, as well as the runs_infos.json (analysis metadata) into a single archive: these will be sufficient for local browsing of the analysis performed remotely.
Aside: the GNAT SAS artifacts
In addition to the *.sam, *.sar, and *runs_info.json files for the analysis, there are also
object files in the *.annots object directories: useful for displaying the GNAT SAS annotations
object files in the gnatsas object directory: necessary for incremental analysis.
When using the upload_generic_package script we take care of using SLUG which avoids forbidden characters within the version number (the regex is \A(?!.*\.\.)[\w+.-]+\z, see https://gitlab.com/gitlab-org/gitlab/-/blob/master/lib/gitlab/regex/packages.rb).
Finally we save the analysis results as an artifact, and upload the code-climate as report.
💡Why save the analysis both as a package and an artifact? For a very good reason: artifacts get erased after some time, because they’re just there to help you debug a build. That makes them quite useful. On the other hand, packages will be kept for as long as we want, but as a single instance for each branch. So for each commit that we analyze, we save it as a GitLab artifact for short-term analysis For every branch, the latest analysis is stored as a GitLab “generic package” forever, so that we can always come back to it and don’t lose this precious analysis time to the eager gods of storage saving. One trick: the report is technically an artifact, but its handling is closer to that of a package. |
Available for all the runs | Easy to distribute | Long-term availability | |
Artifact | ✅ | ❌ | ❌ |
Code Quality report | ❌ | ✅ | ✅ |
Package | ❌ | ✅ | ✅ |
Displaying the results through GitLab UI
Once the result is stored as a quality report, there is nothing else to do: it will get parsed and displayed automatically. The result is displayed in two ways; this is not that well documented and can be confusing at first, so here’s how this works.
Full quality report
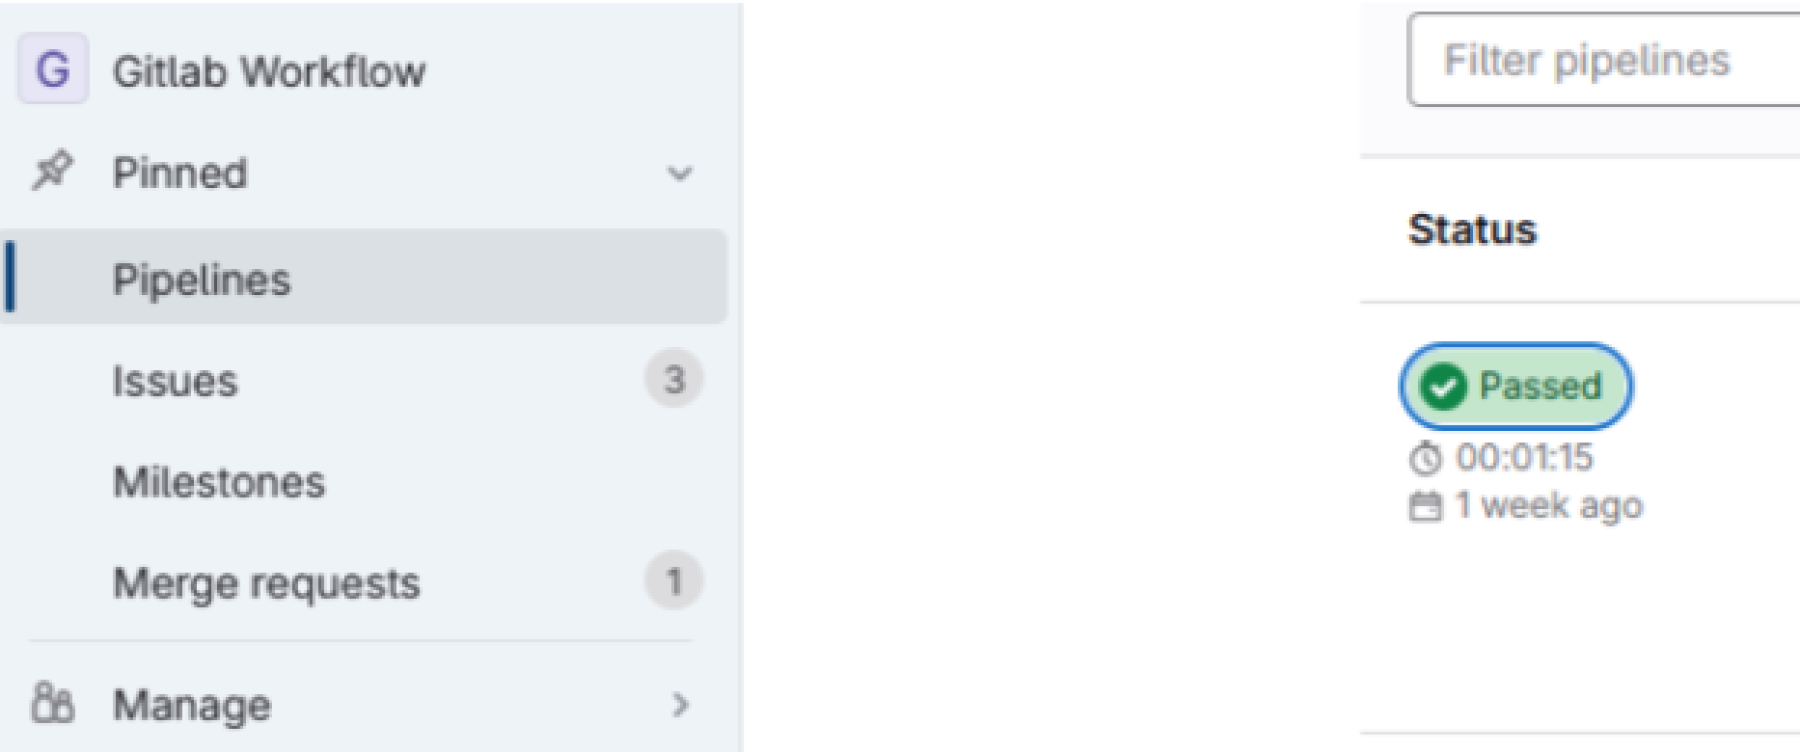
The first way a quality result is displayed is as a “full” quality report, which is available from the pipeline menu:

Click on “Passed” for a pipeline you want to see the report for.

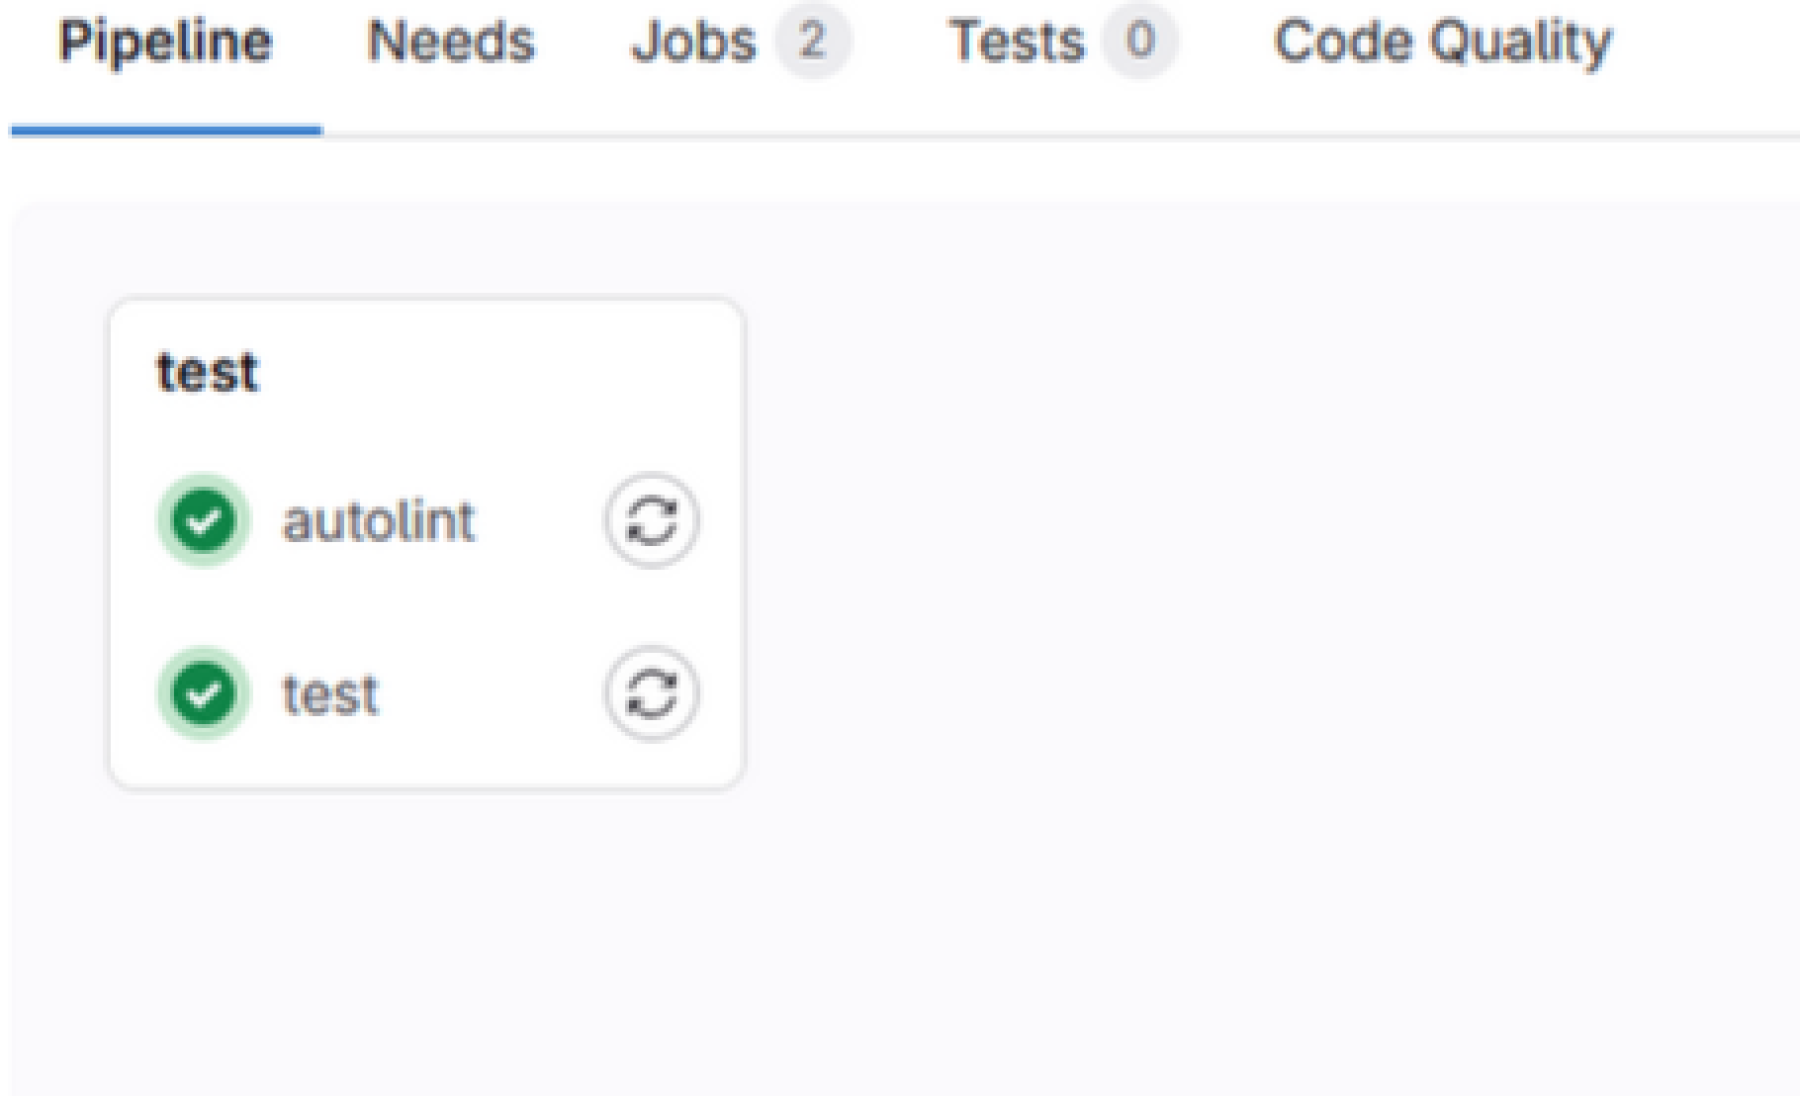
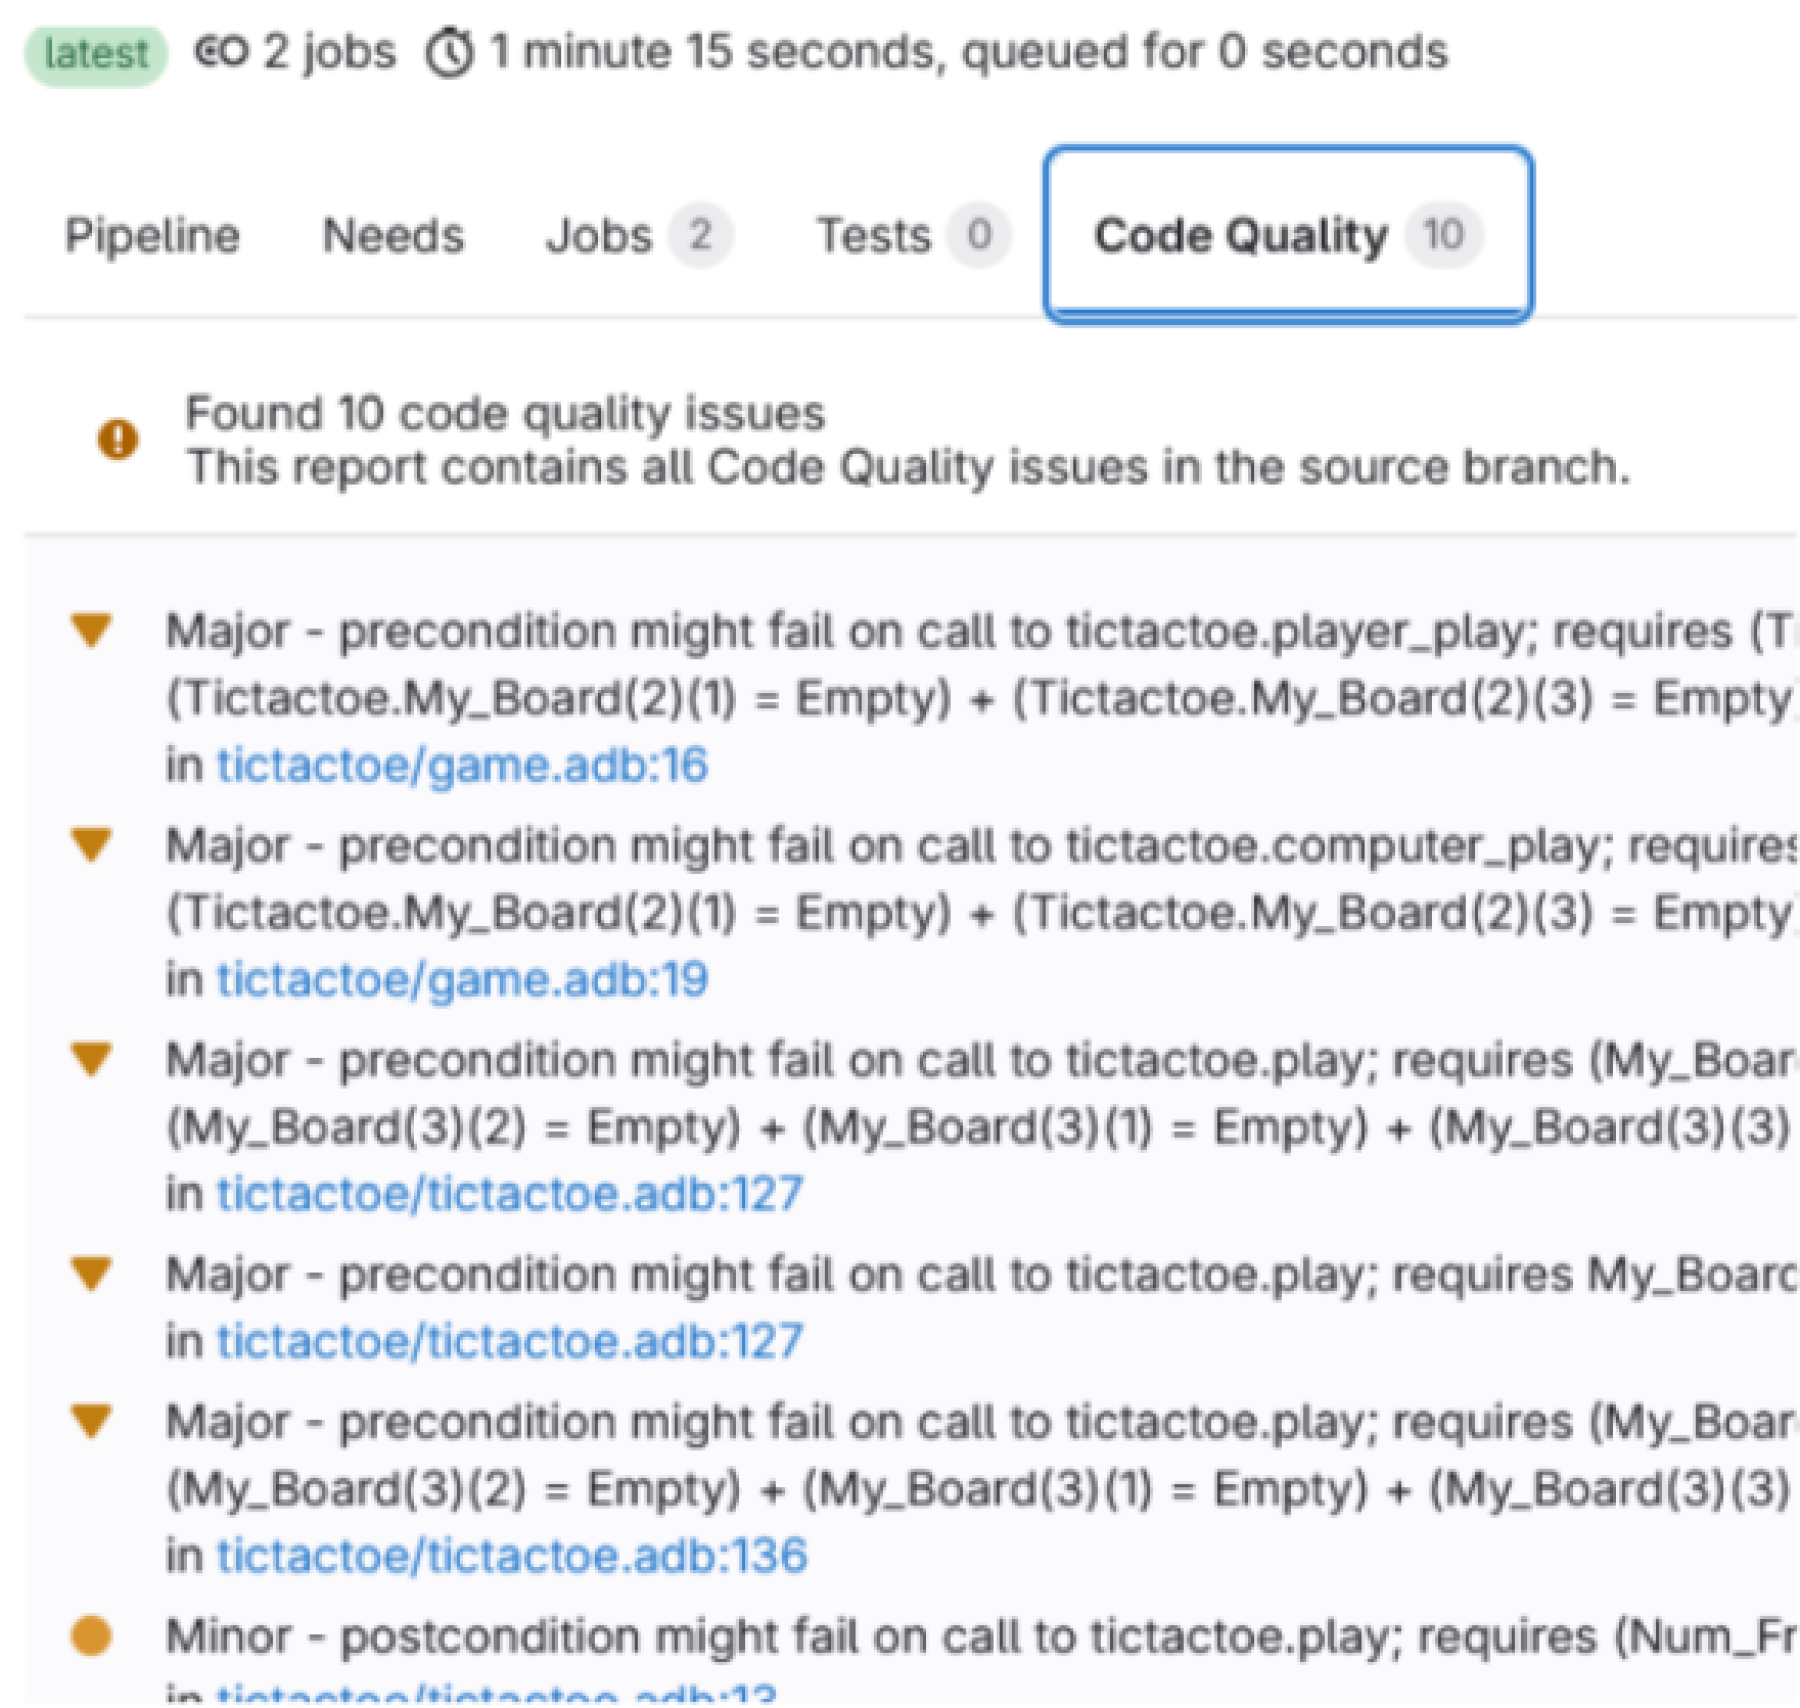
Then click on “Code quality”

You then see the full report: all the issues that GNAT SAS found and that were not justified by reviews.
NB: all the links can actually be clicked to jump to the exact code line that is at stake, neat! 🥳
⚠️ You can see that the pipeline is PASS despite having code quality errors. You can select which behaviour you want to have through using gnatsas report exit-code -P gnatsas.gpr |
Diff quality report
If your analysis has run on a merge-request (MR) that itself has had a code quality report, you will get a second interface, which is the gitlab code quality diff report: only the issues that have changed status between the source branch and the target branch you are merging with will be displayed.
In order to see such a report, simply click on your MR and look for a “code quality” box:

Deploying this box will display a report, in a format similar to that of the full report, except that it contains only the new messages that were introduced by the branch.
Displaying the result locally
In order to display the results locally, we’ll need to do three things: 1. identify the branch whose results we want to display, 2. download the latest messages for this branch, 3. show these messages from GNAT SAS.
This is all done on the demo project through the following script https://github.com/AdaCore/gnatsas-gitlab-workflow/blob/main/review.py
The heart of these three steps, the secret sauce if you will, is the following
getting the current git branch and converting that to a package name, through a call to git
branch = cmd.git("branch", "--show-current", out_filter=lambda s: s.strip())
branch_as_version = self.branch.replace("/", "-")[:63]
Notice that we convert all slashes to ‘-’ because they can appear in a branch name but they can’t be part of a package version.
Also keep in mind that a package version must be <= 63 characters long, so we truncate any name larger than that.
2. download the generic package in question. For that we simply use the gitlab api to download the analysis archive and extract it “locally”
pkg_bin = project.generic_packages.download(
    package_name=”gnatsas_analysis.zip”, package_version=pkg.version, file_name=filename
)

with open(dest, "wb") as f:
f.write(pkg_bin)

zipf = zipfile.ZipFile(dest)
zipf.extractall(path=self.prj_dir)
Notice that extracting it locally means it will be put exactly in the right spot in the project, as if the analysis had been performed locally, a small but powerful trick💫
3. show the messages
cmd.gnatsas("report", "-P", self.gpr)💡The configuration might need to be a bit more involved if you are using scenario variables, or the --subdir switch. |
Review the messages
We can perform a code review and comment or justify the messages through GNAT Studio or with spreadsheets, through a CSV import / export
Versioning the reviews
Once you have performed the review, the .sar files should be stored. In this simple review workflow we use the same repository to store the reviews as we do to store the source code.
💡Aside: Other possible workflows We are not storing the messages in the repository, they are after all “just” the result of running GNAT SAS on the source, so they can be recreated mechanically; the way e.g. a binary can be re-compiled. You could still choose to keep the messages (as *.sam files) in version control, in which case you would have to deal with the GitLab runner pushing commits onto the git repository. Another option we didn’t follow would be to split the artifacts into multiple projects: one for the “pure” source, another one for the analysis + reviews. For these options we didn’t follow, let us know if that’s something you would like to hear more about! |
We use git to store the .sar file, and there’s still one or two tooling tricks we can use to make our lives easier.
First off, we can configure git so that whenever we push a review change, it displays a neat diff of the message we’ve just justified. Otherwise, having a look at the sar file content could be a bit overwhelming, it contains lots of updated information that we can’t easily check. Using this trick, the tool will display a human-readable diff and in doing so check the validity of the newly generated file.
In conclusion
We presented a necessary setup required for running GNAT SAS CI analysis on Gitlab, from the build of the image to the necessary roles and services.
Some remarks:
The machine running GNAT SAS probably needs significantly more RAM and CPU than your usual CI builder, which means the associated runner(s) should most probably be dedicated to running GNAT SAS jobs. This can be controlled in a standard way through the use of an instance tag that would be dedicated to GNAT SAS analysis.
Notice that this kind of workflow and setup can easily be adapted to other analysis tools than GNAT SAS: GNATcoverage and GNATprove come to mind.
This workflow can also be adapted to other CI mechanisms than GitLab, but as you can see, it is pretty easy to integrate into GitLab thanks to the plethora of tools available out-of-the-box. On a CI that is not as integrated, the tasks would be more daunting (e.g. authenticating to a separate git or container repository).
In future posts, we’ll investigate adding even more features to this pipeline, and how to make it responsive and efficient. In the meantime you can have a look at the documentation resources that are available, especially the GitLab GNAT SAS advanced integration