
Building a Virtual Mars Rover with SPARK and Rust
by Tobias Reiher –
We have taken our Ada Mars Rover demo, featuring a physical robot driven by formally verified SPARK software, to the next level by introducing a simulator that allows you to experience the Rover's capabilities virtually. This simulation, implemented in Rust, accurately models the Rover's movement in an obstacle-filled environment, all while being controlled by the original SPARK code. This project exemplifies the synergy between Ada and Rust, demonstrating how these technologies can be effectively combined to build reliable, safety-critical applications.
The system is driven by Rust, which implements the simulation environment and visualization. The SPARK component provides the control logic. C bindings enable communication between SPARK and Rust.
Simulation and Visualization
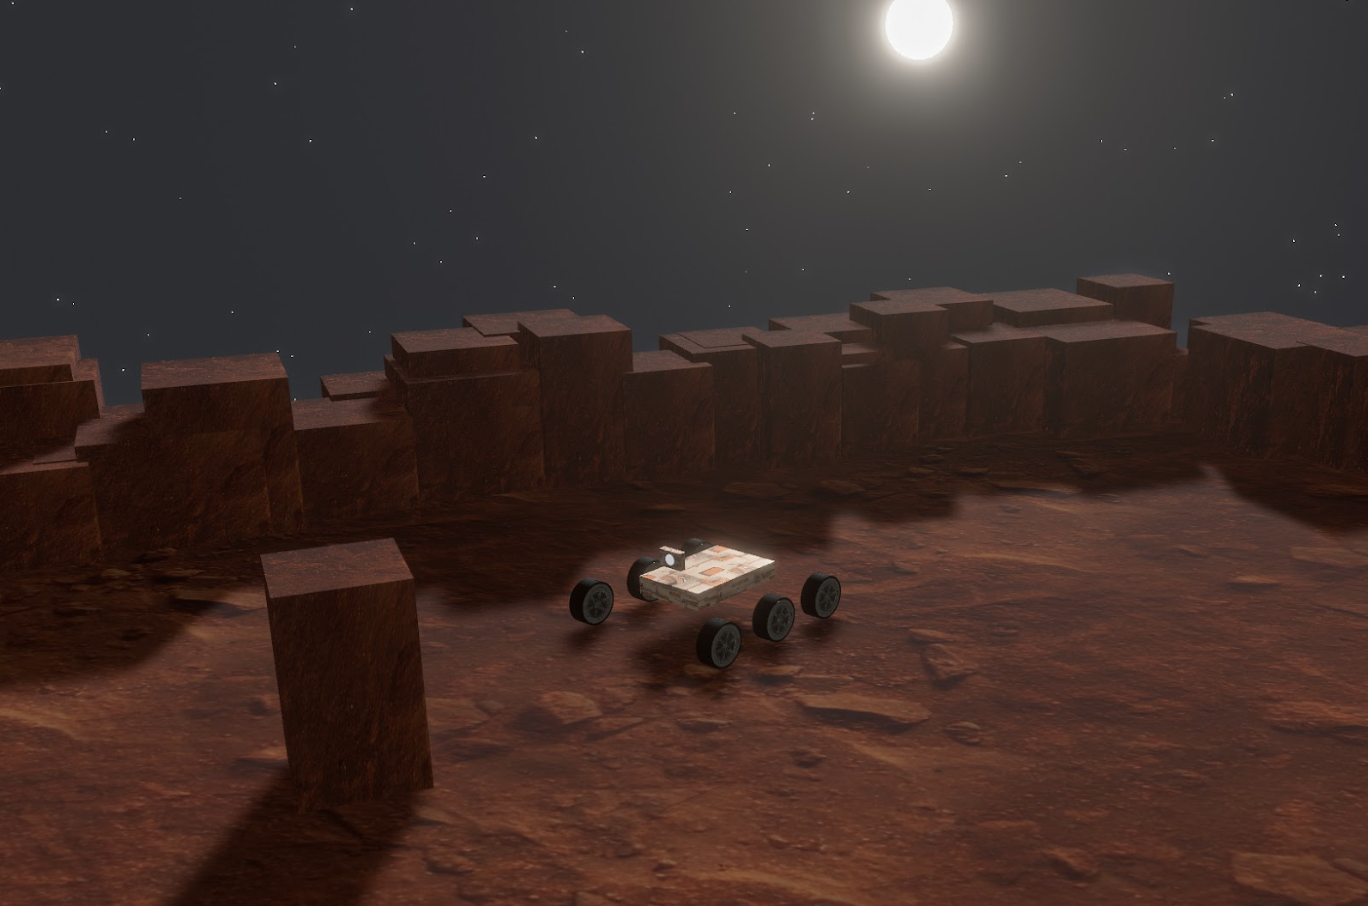
To accurately simulate the Rover's movement, we have implemented a kinematic model representing a four-wheel-independent steering and four-wheel-independent driving (4WIS4WID) mobile robot. The virtual Rover navigates in an environment with obstacles. For environmental perception and collision avoidance, the Rover utilizes a simulated rotating distance sensor. We have created a 3D visualization of the Rover and its Martian environment using the Bevy game engine. This visualization allows users to see the Rover's operations in real-time.
Controller
The controller is the heart of the Mars Rover. It manages the power and steering angles of each wheel, as well as the rotation of the Rover's distance sensor. In turn, it receives feedback from the simulator in the form of measured distances. The controller is written in SPARK and relies on a Hardware Abstraction Layer (HAL) written in Ada.
Ada
To seamlessly support both the physical Rover and the simulator, the SPARK code employs a HAL. This is achieved through a SPARK specification with two distinct bodies: one tailored for the physical Rover's hardware that is written in Ada (SPARK mode off) and another that implements a Ada-to-C binding for the Rust-based simulator. This design allows us to maintain a single, verified codebase that can be deployed across different environments.
Here is an example of how we bridge Ada with Rust using C bindings:
function Sonar_Distance return Unsigned_32 is
      function Sonar_Distance_Import return Unsigned_32;
      pragma Import (C, Sonar_Distance_Import, "mars_rover_sonar_distance");

   begin
      return Sonar_Distance_Import;
   end Sonar_Distance;

   procedure Set_Mast_Angle (V : Mast_Angle) is
      procedure Set_Mast_Angle_Import (V : Integer_8);
      pragma Import (C, Set_Mast_Angle_Import, "mars_rover_set_mast_angle");
   begin
      Set_Mast_Angle_Import (Integer_8 (V));
   end Set_Mast_Angle;
In essence, these Ada functions act as wrappers, calling C functions implemented in the Rust simulator.
Rust
On the Rust side, the controller logic runs in a separate thread to ensure concurrent operation. Data sharing between this thread and the main simulation thread is handled using Rust's atomic types. These provide a safe and efficient mechanism for inter-thread communication, preventing data races and ensuring consistency.
For example, to exchange the measured distance and the sensor angle, we utilize static variables:
static DISTANCE_SENSOR_DISTANCE: AtomicU32 = AtomicU32::new(0);
static DISTANCE_SENSOR_ANGLE: AtomicI8 = AtomicI8::new(0);
We then bind these variables to C symbols using extern "C":
#[no_mangle]
pub extern "C" fn mars_rover_sonar_distance() -> u32 {
    DISTANCE_SENSOR_DISTANCE.load(Ordering::Relaxed)
}

#[no_mangle]
pub extern "C" fn mars_rover_set_mast_angle(a: i8) {
    DISTANCE_SENSOR_ANGLE.store(a, Ordering::Relaxed)
}
The periodically called control function updates the Rover's model with the latest sensor data and defines the angle of the distance sensor:
fn control(mut robot: ResMut<RobotRes>) {

    ...

    DISTANCE_SENSOR_DISTANCE.store(
        if let Some(distance) = robot.distance_sensor_distance() {
            (distance * 100.0) as u32
        } else {
            u32::MAX
        },
        Ordering::Relaxed,
    );

    robot.set_distance_sensor_angle(Angle::from_deg(
        DISTANCE_SENSOR_ANGLE.load(Ordering::Relaxed).into(),
    ));

	...
}
Build Environment
To manage the complexities of building a project that combines Rust and Ada, we have leveraged the strengths of two powerful build tools: Cargo, Rust's package manager and build system, and Alire, the Ada package manager.
To further simplify the build process and ensure seamless integration, we have employed a Cargo build script. This script automates the compilation of the Ada code into a static library, which can then be linked with the Rust components.
Here is how the Cargo build script initiates the build of the Ada library using Alire:
fn main() {
	let output = Command::new("alr")
        .args(["build"])
        .current_dir(PROJECT_DIR)
        .stderr(Stdio::inherit())
        .output()
        .unwrap();

    if !output.status.success() {
        panic!();
    }

    ...
}
The alr build command instructs Alire to compile the Ada project. If the Ada build fails, the script will halt, displaying the error output from Alire.
To inform Cargo about the location, type, and name of the generated Ada library, we use cargo:: instructions:
println!("cargo::rustc-link-search=ada-mars-rover/simulator_interface/lib");
println!("cargo::rustc-link-lib=static=Mars_Rover");
By default, Cargo only executes the build script if the library is absent. To ensure that Cargo rebuilds the Ada library whenever source files are modified, we specify the source directory and the Ada project file:
println!("cargo::rerun-if-changed=ada_mars_rover/src");
println!("cargo::rerun-if-changed=ada_mars_rover/simulator_interface/mars_rover.gpr");
With this build script in place, a single cargo build command is all that is required to compile the entire project, simplifying the developer workflow.
For a deeper dive into integrating Ada with a Rust project, we recommend exploring our previous blog post: Adding Ada to Rust.
Conclusion
In this project, we have demonstrated the powerful synergy between Ada and Rust, showcasing how these languages can be effectively combined to build complex, safety-critical systems. We encourage you to explore the code, to experiment with the simulator, and to consider the possibilities of combining these technologies in your own projects.
About Tobias Reiher

Tobias Reiher is a Senior Rust Engineer and the Technical Lead of the RecordFlux technology at AdaCore. With a decade of experience in designing and implementing secure systems, he is committed to creating correct software.