Ada for micro:bit Part 7: Accelerometer
by Fabien Chouteau –
Welcome to the Ada for micro:bit series where we look at simple examples to learn how to program the BBC micro:bit with Ada.
If you haven't already, please follow the instructions in Part 1 to setup your development environment.
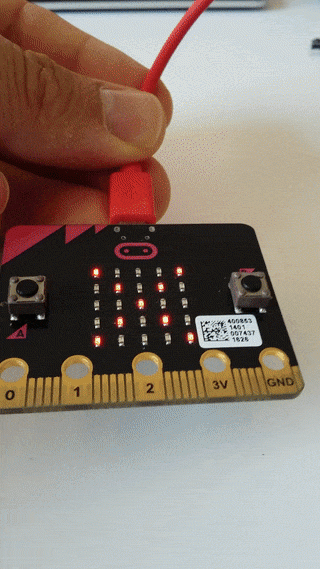
In this seventh part we will see how to use the accelerometer of the micro:bit. The accelerometer can, for instance, be used to know which way the micro:bit is oriented.
Interface
To get the acceleration value for all axes, we will just call the functionMicroBit.Accelerometer.Data. This function returns a record with X, Y and Z field giving the value for each axis.
function Data return MMA8653.All_Axes_Data;
   --  Return the acceleration value for each of the three axes (X, Y, Z)
Return value:
- A record with acceleration value for each axis
Note that the type used to store the values of the accelerometer is declared in the package MMA8653 (the driver), so we have to with and use this package to have access to the operations for this type.
We can use the value in the record to get some information about the
orientation of the micro:bit. For example, if the Y value is below -200
the micro:bit is vertical.
Here is the full code of the example:
with MMA8653; use MMA8653;

with MicroBit.Display;
with MicroBit.Display.Symbols;
with MicroBit.Accelerometer;
with MicroBit.Console;
with MicroBit.Time;

use MicroBit;

procedure Main is

   Data : MMA8653.All_Axes_Data;

   Threshold : constant := 150;
begin

   loop

      --  Read the accelerometer data
      Data := Accelerometer.Data;

      --  Clear the LED matrix
      Display.Clear;

      --  Draw a symbol on the LED matrix depending on the orientation of the
      --  micro:bit.
      if Data.X > Threshold then
         Display.Symbols.Left_Arrow;

      elsif Data.X < -Threshold then
         Display.Symbols.Right_Arrow;

      elsif Data.Y > Threshold then
         Display.Symbols.Up_Arrow;

      elsif Data.Y < -Threshold then
         Display.Symbols.Down_Arrow;

      else
         Display.Display ('X');

      end if;

      --  Do nothing for 100 milliseconds
      Time.Sleep (100);
   end loop;
end Main;
Following the instructions of Part 1 you can open this example (Ada_Drivers_Library-master\examples\MicroBit\accelerometer\accelerometer.gpr), compile and program it on your micro:bit.

See you next week for the last Ada project of this series.

Don't miss out on the opportunity to use Ada in action by taking part in the fifth annual Make with Ada competition! We're calling on developers across the globe to build cool embedded applications using the Ada and SPARK programming languages and are offering over $9,000 in total prizes. Find out more and register today!
