Starting micro-controller Ada drivers in the Alire ecosystem
by Fabien Chouteau –
A few days ago, someone asked on the Ada Drivers Library repository how to add support for the SAMD21 micro-controller.
Nowadays, I would rather recommend people to contribute this kind of micro-controller support project to the Alire ecosystem. Like I did with the samd51_hal crate and later Jeremy Grosser with the rp2040_hal crate.
I started to write a few instructions on how to get started, but it quickly became a blog-worthy piece of text. So here it is:
Hardware requirements #
I strongly recommend getting a good debugger set up. Writing low level peripheral drivers can be hard, and without a proper debugger it will be mostly impossible to know what is going wrong.
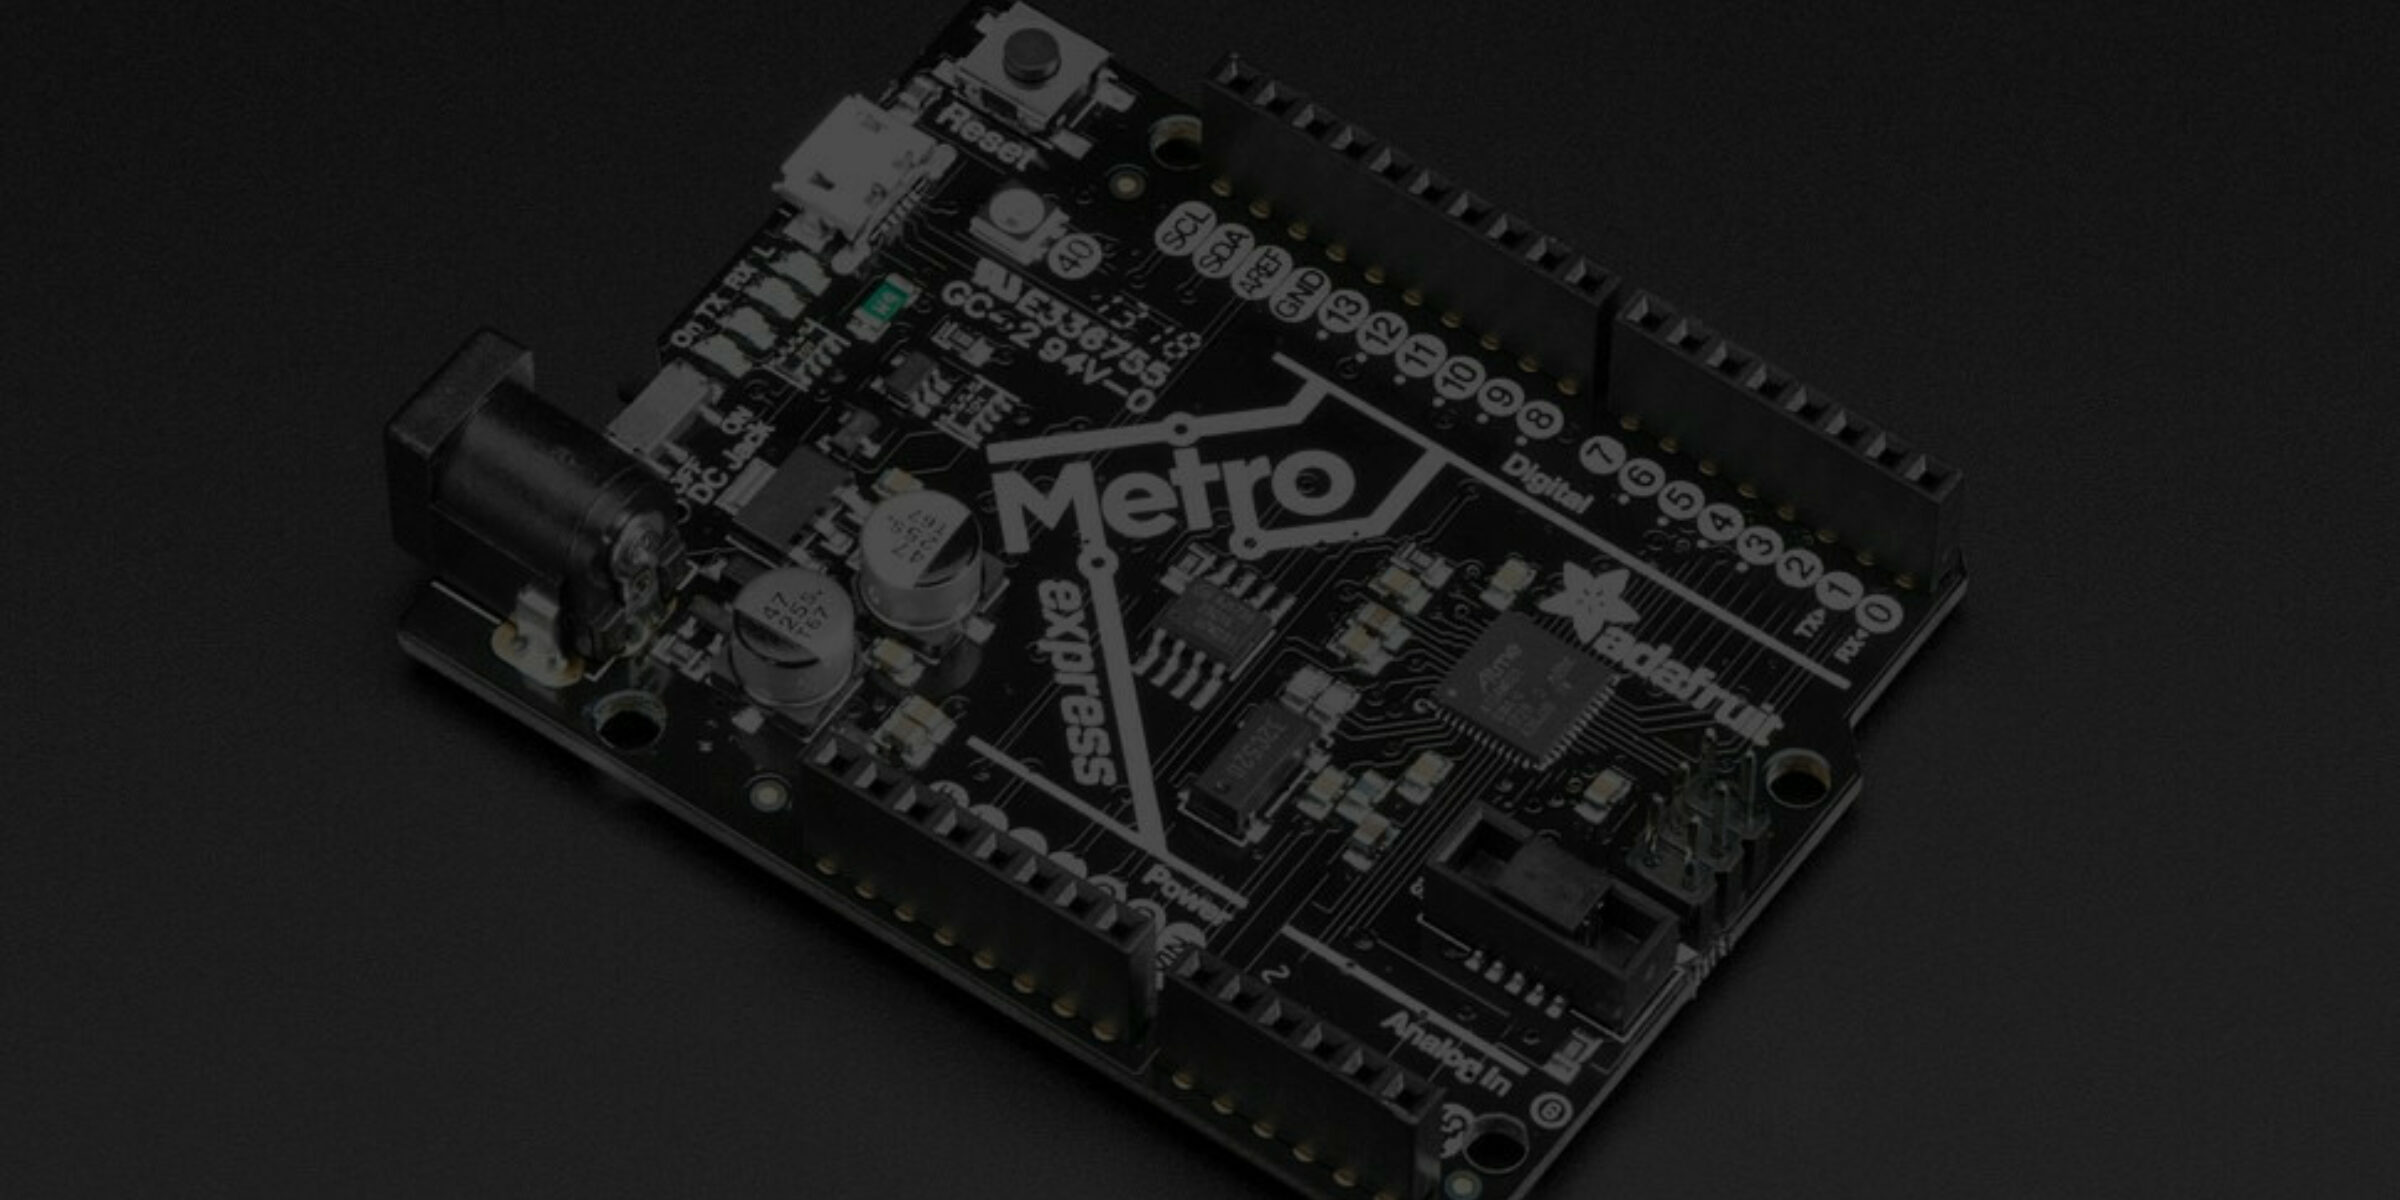
So pick a development board that has a debug port available. For the SAMD21, the AdaFruit METRO M0 Express is a better option than the AdaFruit Feather M0.
For the debugger itself, you can either get a SEGGER J‑Link EDU Mini that has support for most Cortex‑M devices, or Black Magic Probe that is open source and open hardware but with less devices supported.
An Alire crate for our Hardware Abstraction Layer (HAL) #
Let’s start our project. To begin with, download and install Alire.
Then create the HAL crate for the SAMD21:
$ alr init --lib samd21_hal
$ cd samd21_hal
$ alr with gnat_arm_elf # Add a dependency on the arm-elf compiler
Add the following lines to the samd21_hal.gpr project file:
for Target use "arm-elf";
for Runtime ("Ada") use "light-cortex-m0p";
The run-time used is light-cortex-m0p because the SAMD21 is an “ARM Cortex-M0 plus” device. You might have to use a different run-time for your device.
I also recommend renaming the root package to follow what is done in the samd51_hal and rp2040_hal:
$ mv src/samd21_hal.ads src/sam.ads
$ sed -i 's/Samd21_Hal/SAM/g' src/sam.ads
And then build:
$ alr buildThis is the starting point for our Hardware Abstraction Layer library.
Use svd2ada to generate the low level hardware bindings #
Most, if not all, ARM Cortex‑M micro-controllers are provided with an SVD file that describes the memory mapped peripheral registers. Some of the RISC‑V ones do too. Using the svd2ada tool, we can automatically generate the Ada bindings for all the registers, which tremendously reduces the effort of supporting a new micro-controller.
Get the SVD file #
First we have to find the SVD file for our micro-controller. For the Microchip (formerly ATMEL) products, the SVD files are found at this address: http://packs.download.atmel.com/
Download the .atpack archive corresponding to our micro-controller family and unzip it:
$ wget http://packs.download.atmel.com/Atmel.SAMD21_DFP.1.3.395.atpack
$ unzip Atmel.SAMD21_DFP.1.3.395.atpack -d samd21_atpack
Now one of the issues here is that there is one SVD file for each micro-controller of the samd21 family, 34 SVD files. That’s because each micro-controller can have a different set of peripherals and different memory banks sizes.
Making a crate for each of the micro-controllers in the family would not scale very well (some families have hundreds of variants).
There are solutions to deal with that issue, but for this post I want to keep it simple. So we pick the SVD file that corresponds to the specific micro-controller that we are using, and this will be a good starting point.
In our case, it will be the samd21_atpack/samd21a/svd/ATSAMD21G18A.svd file.
Build svd2ada #
Unfortunately svd2ada is not available in Alire yet, but we can download and compile the sources from the GitHub repository: https://github.com/AdaCore/svd2ada
Generate the bindings #
Using svd2ada we are now going to generate the low level hardware bindings:
$ svd2ada samd21_atpack/samd21a/svd/ATSAMD21G18A.svd --boolean -o src -p SAM_SVD --base-types-package HAL --gen-uint-alwaysWe also have to add a dependency on the hal crate that is used by the bindings:
$ alr with halAnd then build again:
$ alr buildMake an example crate #
Now that we prepared all this code for our HAL, it is time to finally start programming the micro-controller for real.
To do that we are going to make another crate. For every micro-controller HAL crate, I recommend making an example crate for a development board that anybody can try. We will call the crate metro_m0_example here because it will be an example for the AdaFruit Metro M0 board:
$ cd ..
$ alr init --bin metro_m0_example
$ cd metro_m0_example
$ alr with samd21_hal --use=../samd21_hal
Some explanation is required for the last command here. For this new metro_m0_example crate we declare a dependency to the samd21_hal crate using the alr with samd21_hal command. Since the samd21_hal crate is not published yet (we are just starting to working on it) the option --use=../samd21_hal tells Alire to get the sources for this crate in a local folder rather than trying to fetch it from a remote crate index.
We also have to specify target and run-time in the metro_m0_example.gpr project file:
for Target use "arm-elf";
for Runtime ("Ada") use "light-cortex-m0p";
We can now build, but there will be an issue:
$ alr build
[...]
warning: cannot find entry symbol _start; defaulting to 0000000000008000
We see this warning because two things are missing in our code:
- Linker script
- Startup code
There is a tool that will generate those two for us: startup-gen
Using startup-gen #
We already have a blog post about startup-gen
here. I recommend looking at the blog post for more info on what we are going to do.
First we add the board specifications to the metro_m0_example.gpr project file. For the SAMD21G18 they are:
package Device_Configuration is
   for CPU_Name use "ARM Cortex-M0P";
   for Float_Handling use "soft";

   for Number_Of_Interrupts use "42";

   for Memories use ("RAM", "FLASH");

   --  Specify from which memory bank the program will load
   for Boot_Memory use "FLASH";

   --  Specification of the RAM
   for Mem_Kind ("RAM") use "ram";
   for Address ("RAM") use "0x20000000";
   for Size ("RAM") use "0x8000";

   --  Specification of the FLASH
   for Mem_Kind ("FLASH") use "rom";
   for Address ("FLASH") use "0x08000000";
   for Size ("FLASH") use "0x40000";
end Device_Configuration;
I extracted the data from the samd21_atpack/Atmel.SAMD21_DFP.pdsc file.
We then build startup-gen with Alire and use it to generate the files:
$ cd ..
$ alr get --build startup_gen
$ cd metro_m0_example
$ eval `alr printenv`
$ ../startup_gen_21.0.0_75bdb097/startup-gen -P metro_m0_example.gpr -l src/link.ld -s src/crt0.S
CPU: ARM Cortex-M0P
Float_Handling: SOFT
Name    : RAM
Address : 0x20000000
Size    : 0x8000
Kind    : RAM
Name    : FLASH
Address : 0x08000000
Size    : 0x40000
Kind    : ROM
We now have our linker script and startup code, there are two more things that we have to do before compiling the example.
We have to add the following line in the project file (metro_m0_example.gpr) to specify that we also want to compile assembly code:
for Languages use ("Ada", "ASM_CPP");And we have to add the following lines in the project file (metro_m0_example.gpr) to specify the linker script to use:
package Linker is
   for Switches ("Ada") use ("-T", Project'Project_dir & "/src/link.ld",
                             "-Wl,--print-memory-usage",
                             "-Wl,--gc-sections");
end Linker;
We can now finally build our first application for the SAMD21:
$ alr build
[...]
Memory region         Used Size  Region Size  %age Used
           FLASH:         756 B       256 KB      0.29%
             RAM:        4120 B        32 KB     12.57%
The default Alire init project is just a null statement, so don’t forget to add an end-less loop in src/metro_m0_example.adb procedure.
Running on the board #
Now that we have a successful build, we can run our infinite loop on the board.
This part is not going to be very detailed because the process can be different depending on the micro-controller/board/debugger.
The basic steps with JLink are:
- Create a GDB server for the debugger. For instance
$ JLinkGDBServerCLExe -device ATSAMD21G18 -if swd -vd -nogui - Start GDB with the application binary:
arm-eabi-gdb bin/metro_m0_example - From GDB:
- Connect to the debugger:
(gdb) target remote :2331 - Reset the micro-controller:
(gdb) monitor reset - Load the application:
(gdb) load - Put a break point on the main procedure:
(gdb) b <_ada_metro_m0_example> - Start the execution:
(gdb) continue
- Connect to the debugger:
The debugger should stop after reaching the breakpoint. That’s it, we made our first program for the SAMD21.
Build higher level abstractions #
From here we can start developing our example/application with just the SVD generated bindings, but it is best to build a higher abstraction above to help the users of our HAL crate.
This will also allow us to have common interfaces to use existing drivers for I2C or SPI for instance. It’s also good to provide useful packages to configure and setup the micro-controller, like the clock generators for instance.
This is where the hard part begins and where we are getting outside the scope of this blog post ^^
The useful resources will be:
- micro-controller documentation
- Vendor provided drivers (in C)
- Ada drivers for other micro-controllers
Make a BSP crate #
There is one last thing I want to mention here. So far we made two crates: the samd21_hal and metro_m0_example. But there is another level of abstraction that we can add.
Most of the time the people will start programming a micro-controller using a development board, either from the vendor or from a third party like AdaFruit, SparkFun or pimoroni. This is what we did in this blog post.
These development boards come with some features that are specific to them. For instance, LEDs, buttons, sensors, etc.
It is better to make a Board Support Package (BSP) crate for those features, so that ourselves and others can re-use that code in the future.
So let’s make a new crate:
$ cd ..
$ alr init --lib metro_m0_bsp
$ cd metro_m0_bsp
$ alr with samd21_hal --use=../samd21_hal
And in the example crate, depend on this BSP:
$ cd ../metro_m0_example/
$ alr with metro_m0_bsp --use=../metro_m0_bsp
$ alr buildConclusion #
I realise that this procedure is a bit long, but on the other hand it is made shorter and easier by the use of tools such as Alire, svd2ada and startup-gen. There are shortcuts that you can take if you want, but this will set you in the right direction for the long term maintenance of your HAL and BSP code.
About Fabien Chouteau

Fabien joined AdaCore in 2010 after his engineering degree at the EPITA (Paris). He is involved in real-time, embedded and hardware simulation technology. Maker/DIYer in his spare time, his projects include electronics, music and woodworking.