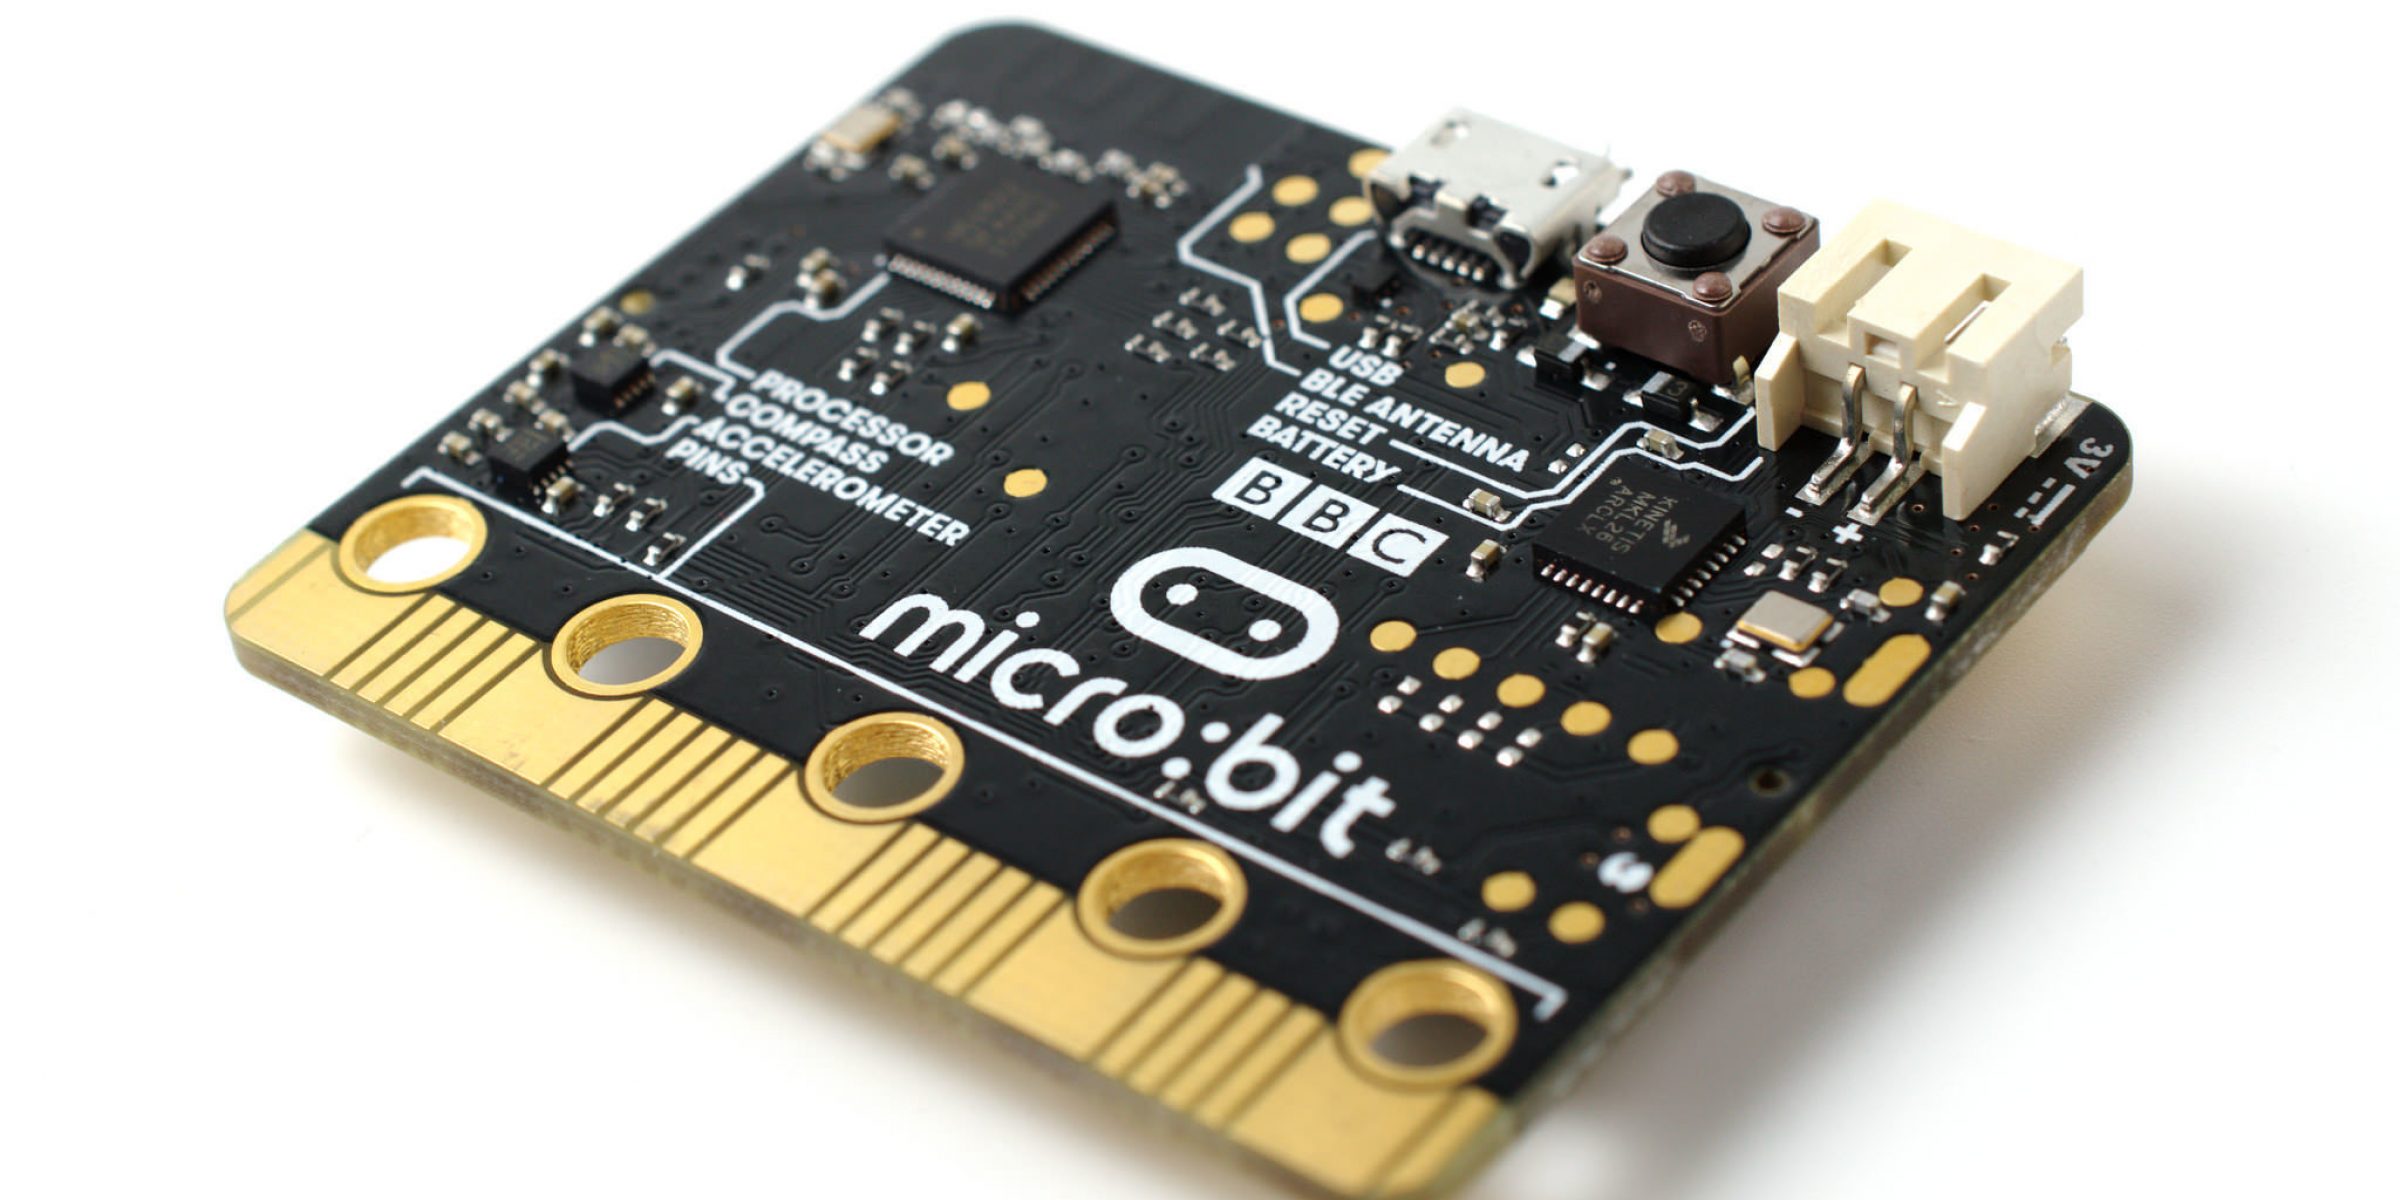
Ada on the micro:bit
by Fabien Chouteau –
Updated July 2018
The micro:bit is a very small ARM Cortex-M0 board designed by the BBC for computer education. It's fitted with a Nordic nRF51 Bluetooth enabled 32bit ARM microcontroller. At $15 it is one of the cheapest yet most fun piece of kit to start embedded programming.
Since the initial release of this blog post we have improved the support of Ada and SPARK on the BBC micro:bit.
In GNAT Community Edition 2018, the micro:bit is now directly supported on Linux, Windows and MacOS. This means that the procedure to use the board is greatly simplified:
Download and install GNAT arm-elf hosted on your platform: Windows, Linux or MacOS. This package contains the ARM cross compiler as well the required Ada run-times
Download and install GNAT native for your platform: Windows, Linux or MacOS. This package contains the GNAT Programming Studio IDE and an example to run on the micro:bit
Start GNAT Programming Studio
Click on “Create a new Project”
Select the “Scrolling Text” project under “BBC micro:bit” and click Next
Enter the directory where you want the project to be deployed and click Apply
- On Linux only: you might need privileges to access the USB ports without which the flash program will say "No connected boards".To do this on Ubuntu, you can do it by creating (as administrator) the file /etc/udev/rules.d/mbed.rules and add the line:SUBSYSTEM=="usb", ATTR{idVendor}=="0d28", ATTR{idProduct}=="0204", MODE:="666"then restarting the service by doing $ sudo udevadm trigger
Plug your micro:bit board with a USB cable, and wait for the system to recognize it. This can take a few seconds
Back in GNAT Programming Studio, click on the “flash to board” icon
That’s it!
We also improved the micro:bit support and documentation in the Ada Drivers Library project. Follow this link for documented examples of the various features available on the board (text scrolling, buttons, digital in/out, analog in/out, music).
Conclusion
That’s it, your first Ada program on the Micro:Bit! If you have an issue with this procedure, please tell us in the comments section below.
In the meantime, here is an example of the kind of project that you can do with Ada on the Micro:Bit
