Ada on the ESP8266
by Johannes Kliemann –
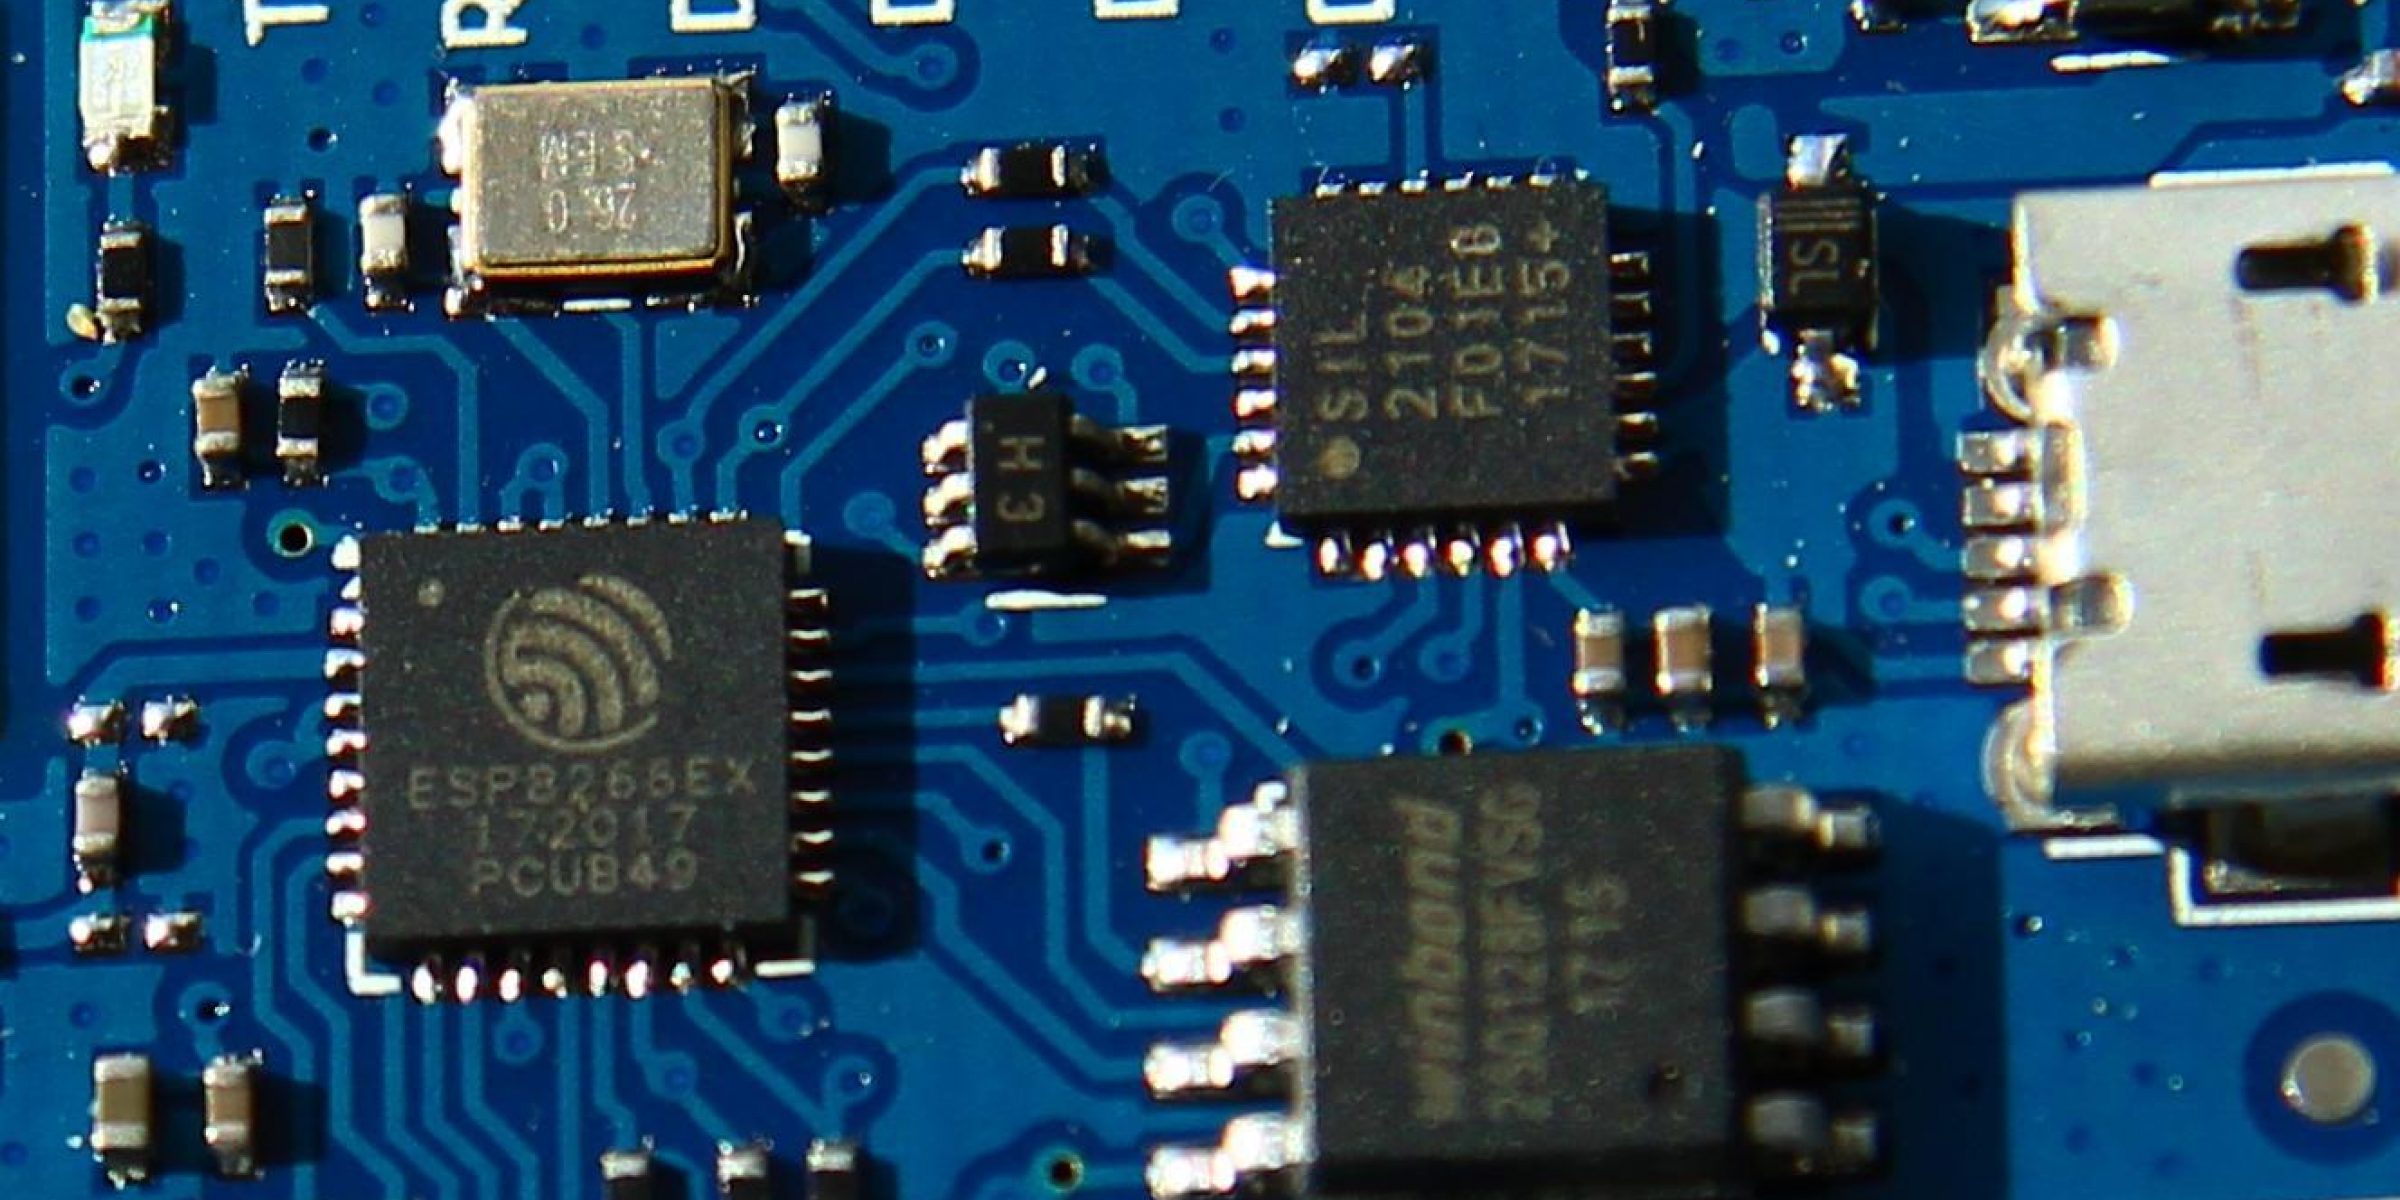
The ESP8266 micro controller by Espressif Systems is one of the cheapest MCUs that support WiFi. This makes it a popular device for wireless IoT applications. It is based on the configurable Tensilica Xtensa architecture that is also used in digital signal processors. The main programming language for this controller is C. This is largely due to the fact that the limited set of toolchains is based on old GCC versions. Except for an experimental custom GCC 5 there was virtually no compiler support for Ada on this platform.
Building an Ada compiler for Xtensa #
Not long ago, AdaCore published its LLVM frontend for GNAT. Also quite recently Espressif updated their LLVM backend to LLVM 9 which also happens to be the LLVM version of GNAT. This gave me to the idea to try out if LLVMs promise of providing modular and reusable toolchain technologies is true.
To test if I was able to build a custom compiler I created a fork of AdaCores LLVM frontend and switched the original backend with the one provided by Espressif. After some tinkering with build options, versions and include paths I was able to build a compiler that was able to compile binaries for both X86 and Xtensa. Running the following command creates an object file that can be linked into an existing binary and executed on an ESP8266:
$ llvm-gnatmake -c unit.adb -cargs --target=xtensa -mcpu=esp8266Running Ada code on the target #
With this compiler we can create object files that will run on the 32bit Xtensa architecture for either the ESP8266 or the ESP32. But object files alone don’t run on the target so we have to create a binary first. For a pure Ada application that runs on bare metal, we would have to implement a set of drivers from the chipset specification in Ada. However, to show that Ada code compiled into an object file can run on this chip it is sufficient to link it against an existing SDK that already contains all the support and startup code.
Choosing an SDK #
There are multiple SDKs available for the ESP8266, the ESP8266_RTOS_SDK by Espressif, the esp-open-sdk which focuses on the use of only free software and the ESP8266 core for Arduino which provides support for the Arduino IDE. All of these bring their own toolchain and have it integrated into their build systems. This makes it difficult to add new languages which require custom compilers.
I’ve chosen the Arduino SDK as the Arduino environment allows it to include prebuilt static libraries. To install the ESP8266 SDK for Arduino I recommend following the instructions in the README of the project.
Running it on the device #
I prepared a small example that prints on the serial console. To compile it clone it into the libraries folder of your Arduino installation and compile it there. The GNAT LLVM binaries have to be in the PATH environment. These can either be compiled as described in the README or simply download the precompiled binaries. Be aware that building the compiler yourself might require significant amounts of RAM and take a long time.
$ cd /path/to/Arduino/libraries
$ git clone --recursive https://github.com/jklmnn/esp8266-ada-example.git
$ cd esp8266-ada-example
$ make
These steps will install the example and an Ada runtime into the Arduino libraries. The runtime is the Componolit ada-runtime which has support for the ESP8266 on Arduino. It also provides a logging facility that prints onto the serial line.
An Arduino sketch to open the example is in the cloned repository in esp8266-ada-example/esp8266-ada-example.ino When both the example and the runtime have been built this sketch can be built and flashed directly from the IDE. I have tested this with the LiLon NodeMCU V3 and the WeMos D1 mini boards but it should work on every board as it used the on chip serial capabilities. After connecting to the serial port opened by the device one should see that it prints “Make with Ada!” in an endless loop.
$ screen /dev/ttyUSB0 115200
Make with Ada!
Make with Ada!
Make with Ada!
Make with Ada!Outlook #
This article describes a proof of concept to run Ada on a new platform using GNATs novel LLVM backend. To use it productively the Ada language needs to be supported in the Arduino environment which currently is not the case. Furthermore the current approach includes binary blobs from the manufacturer as well as drivers written in C from the Arduino environment.
A more interesting, although far more challenging, task would be an SDK purely in Ada or even SPARK which would enable the creation of secure embedded and WiFi-enabled devices.
About Johannes Kliemann

Johannes Kliemann is a cross and embedded engineer at AdaCore. He specializes in systems architecture and security and is interested in formal verification, operating systems development and embedded devices.